Create your own NFT collections
Upon starting your NFT project, your can create your NFT collections and upload items. In this guide, we walk you through to do this using FeverTokens console.
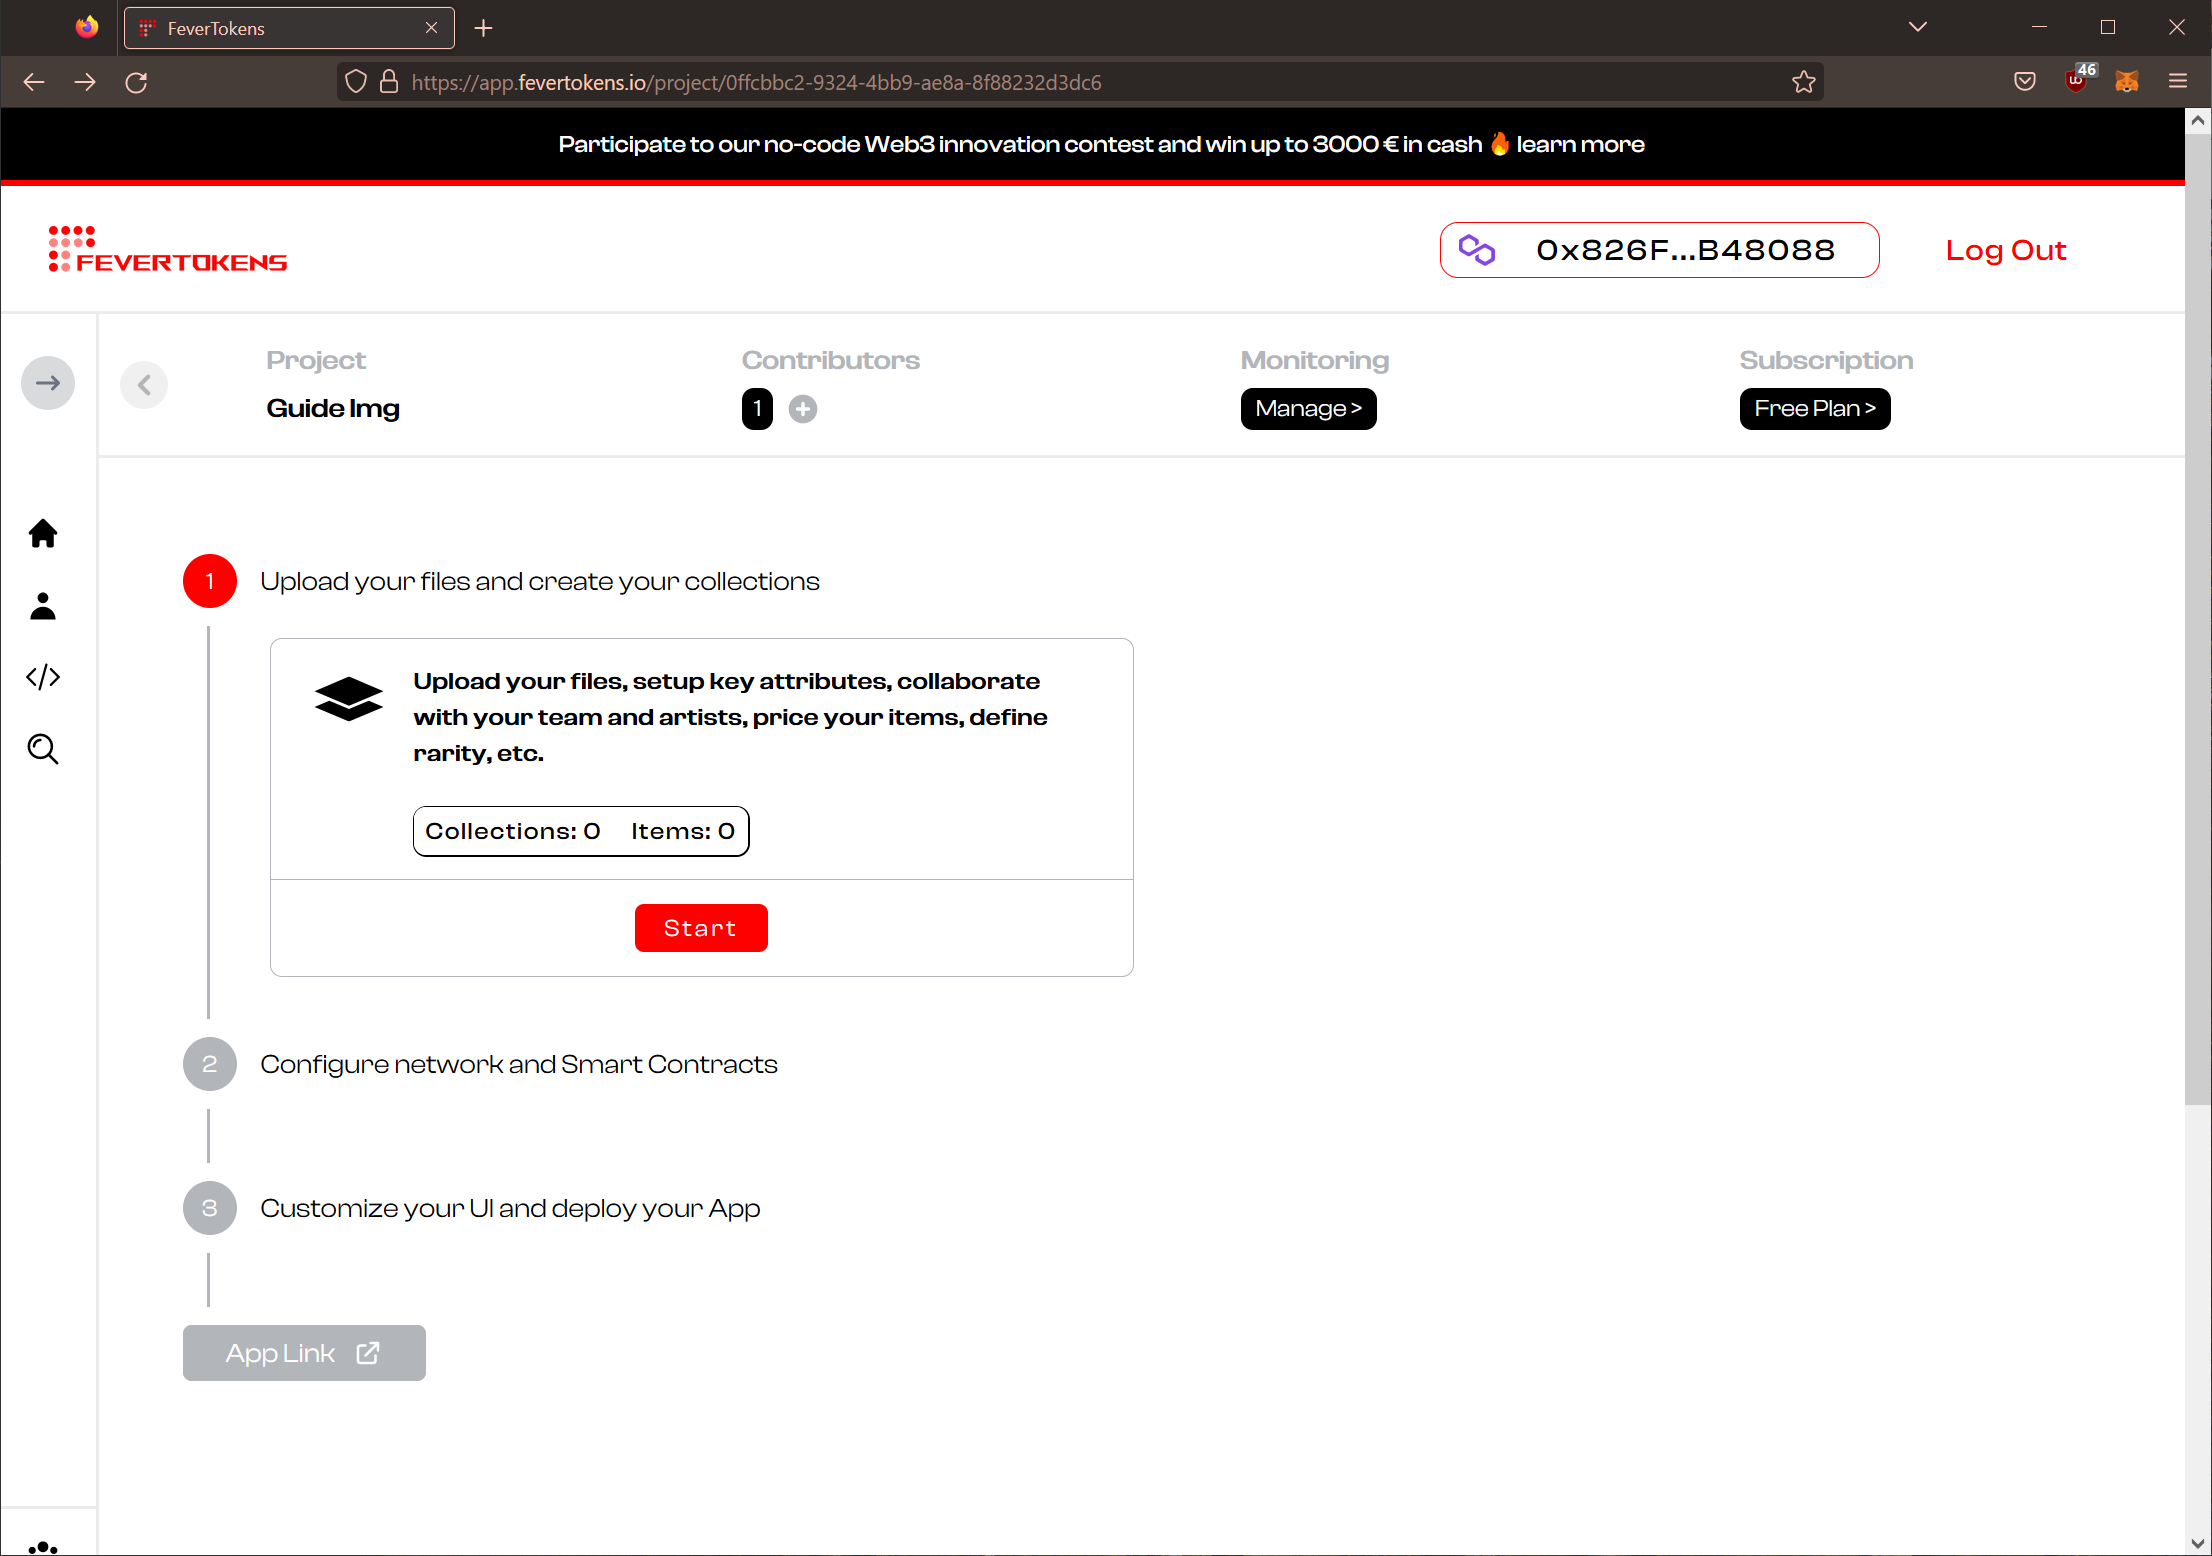
STEP 1. Initiate the step
- On the project dashboard, click the red Start button under "1. Upload your files and create your collections".
STEP 2. Create a collection
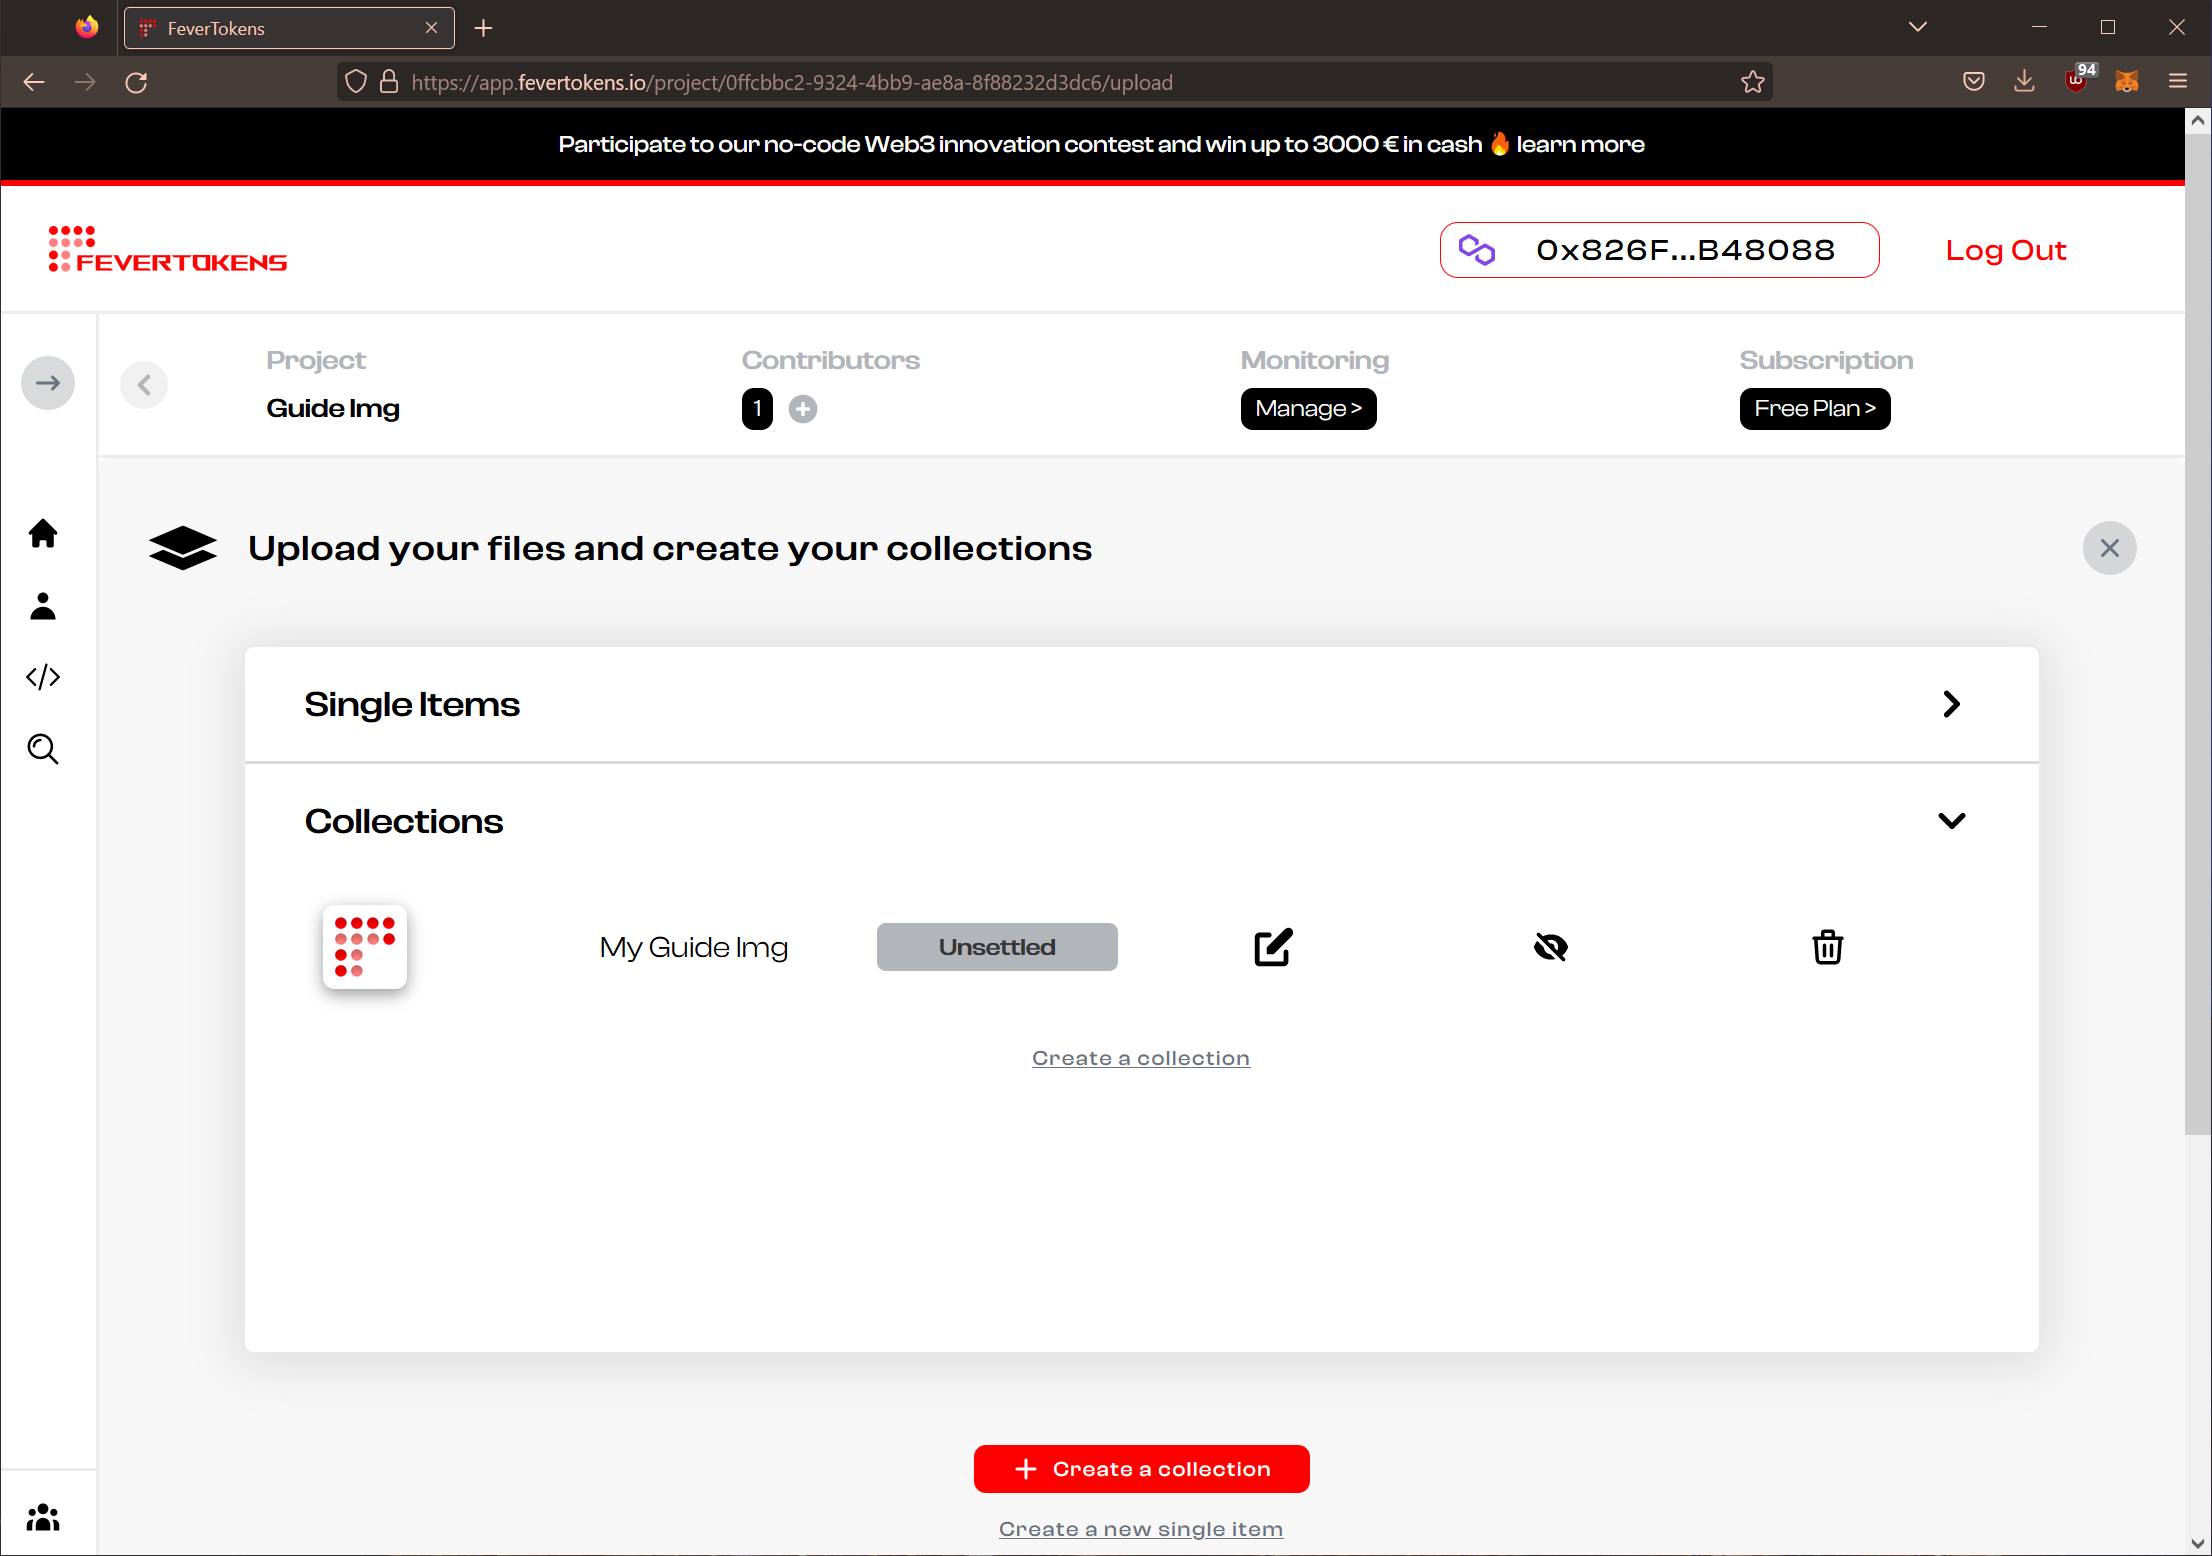
- A new window will give you the option to create either a single item or a collection. Choose Create a collection.
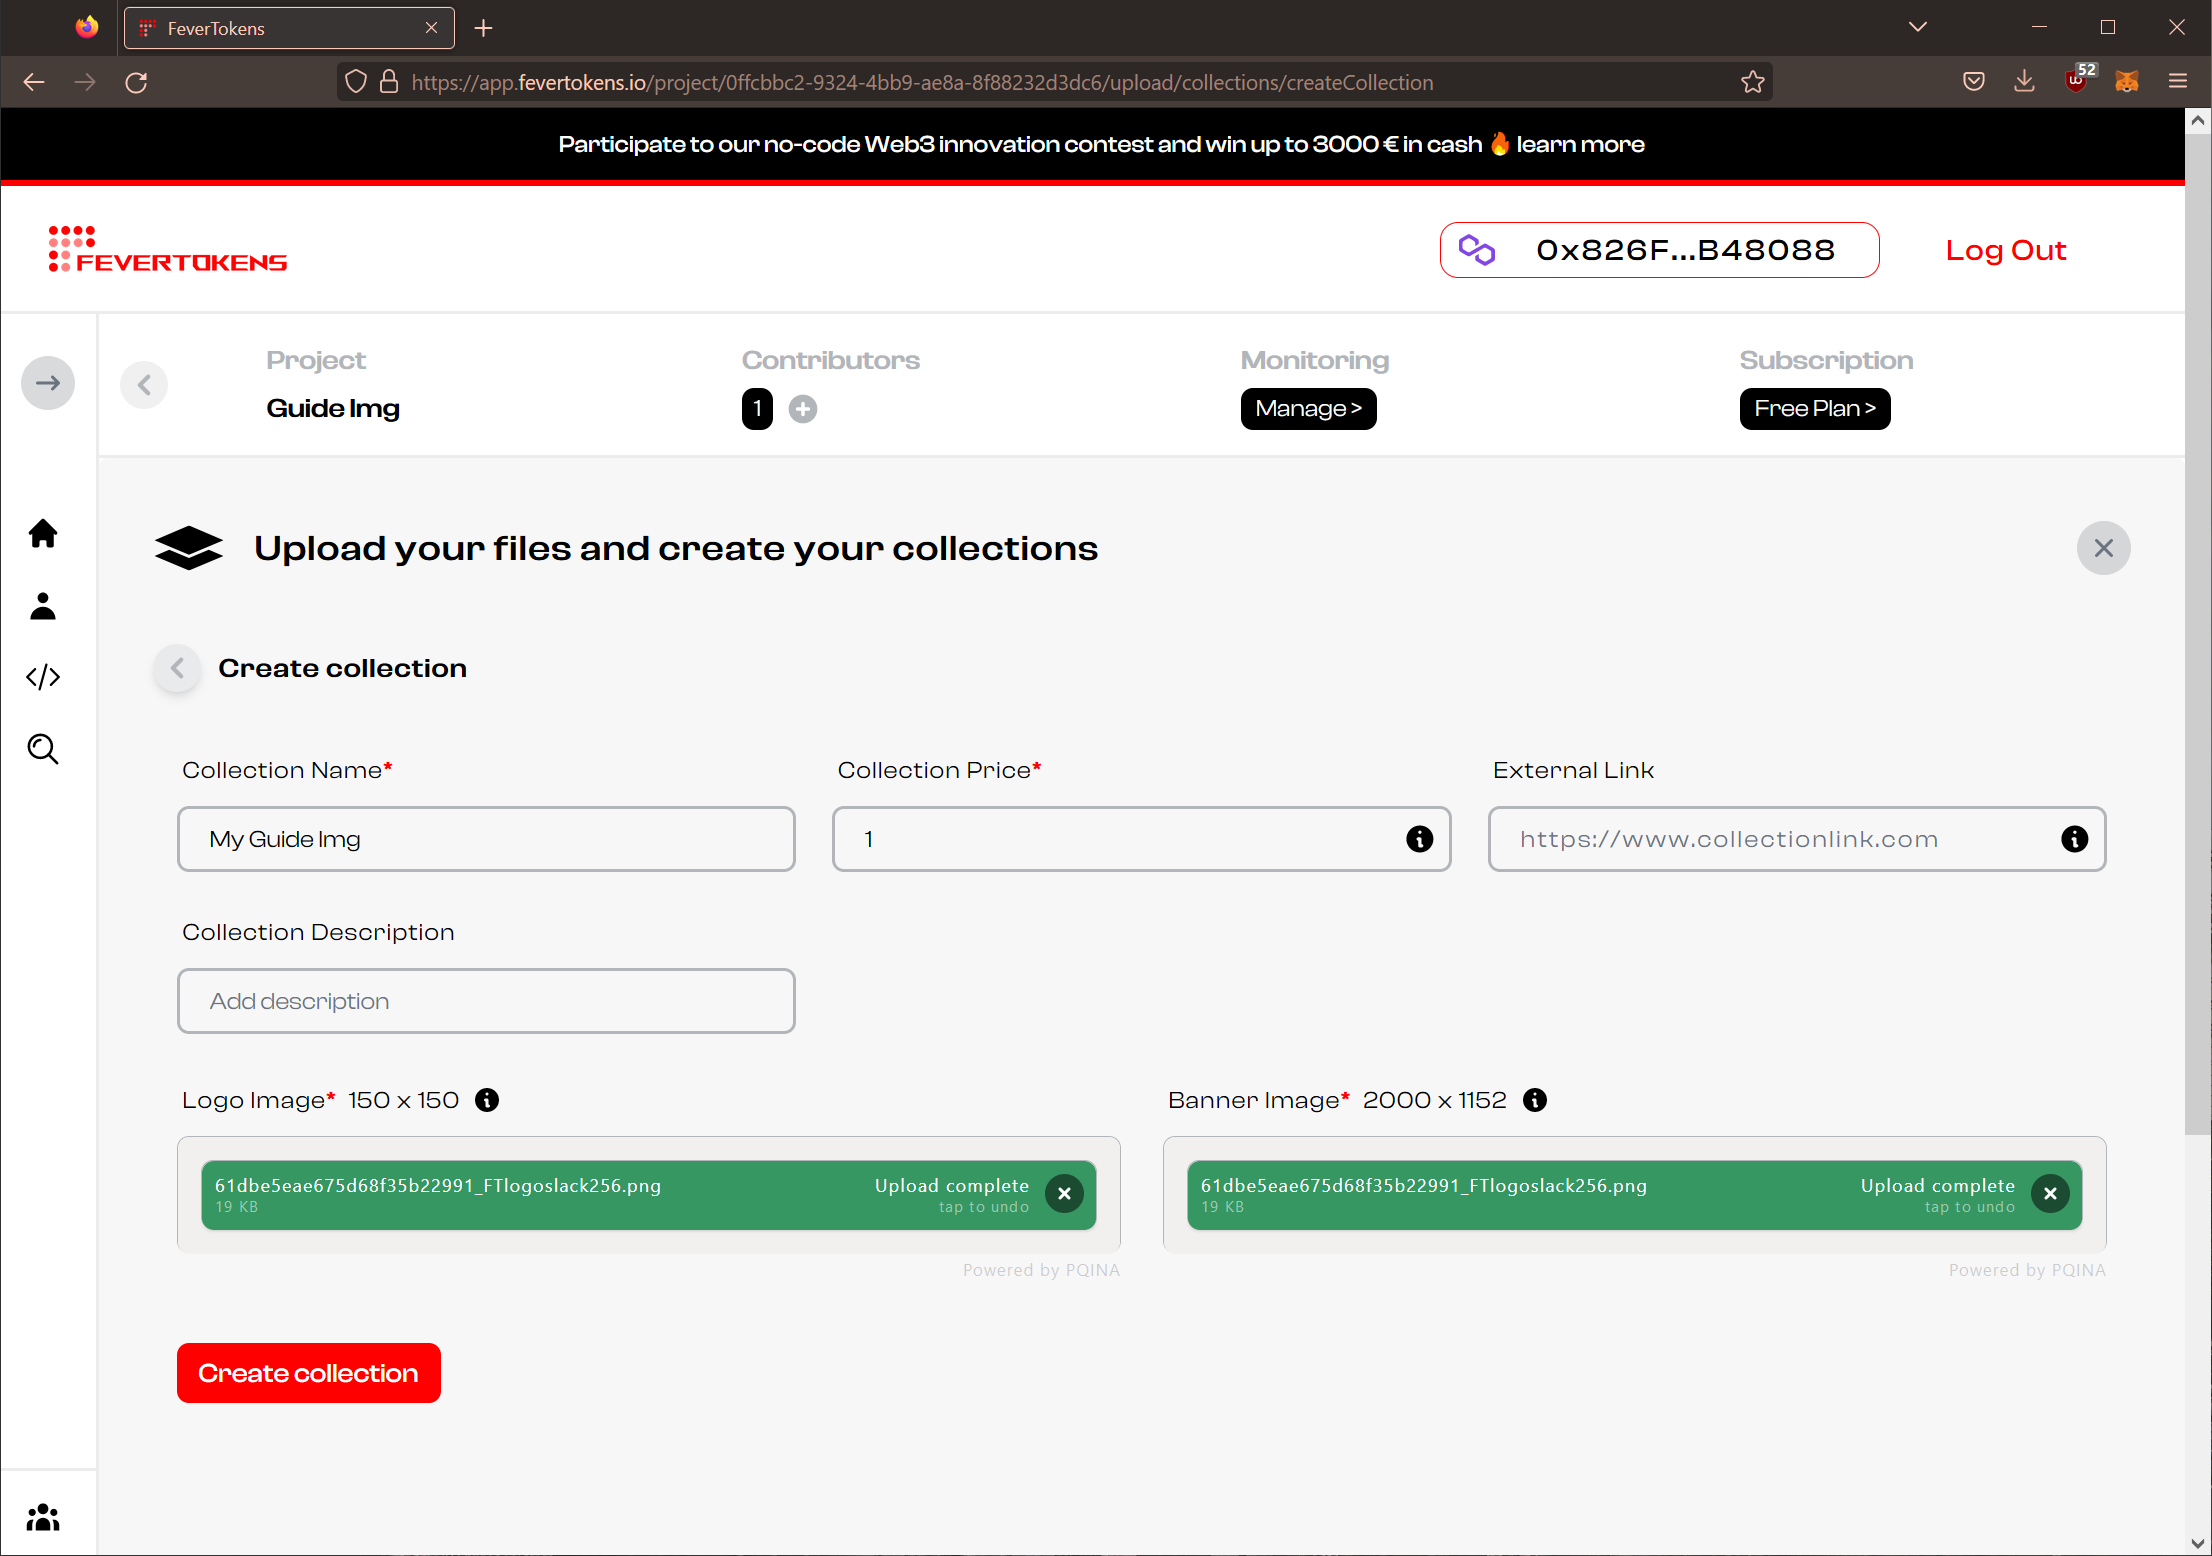
- In the next dialogue box, enter the Name of the collection and the Price for each item in this collection. The unit of the price is the native unit of the blockchain network that you can configure in Step 9.
Note: To reduce complexity, the default price for each item is set for the entire collection. You can define the price of each item individually in the following steps.
- Optionally, add an External link to your website and a Description for the collection.
- You must add a logo image as well as a banner image.
- Click Create collection to continue.
Note: If you click the close button (top-right), all entered data will be reset.
STEP 2a. Skip collection creation
You can create a single item without a collection.
- On the project dashboard, click the red Start button.
- If you plan on creating just an item, choose Create a single item and skip to STEP 4.
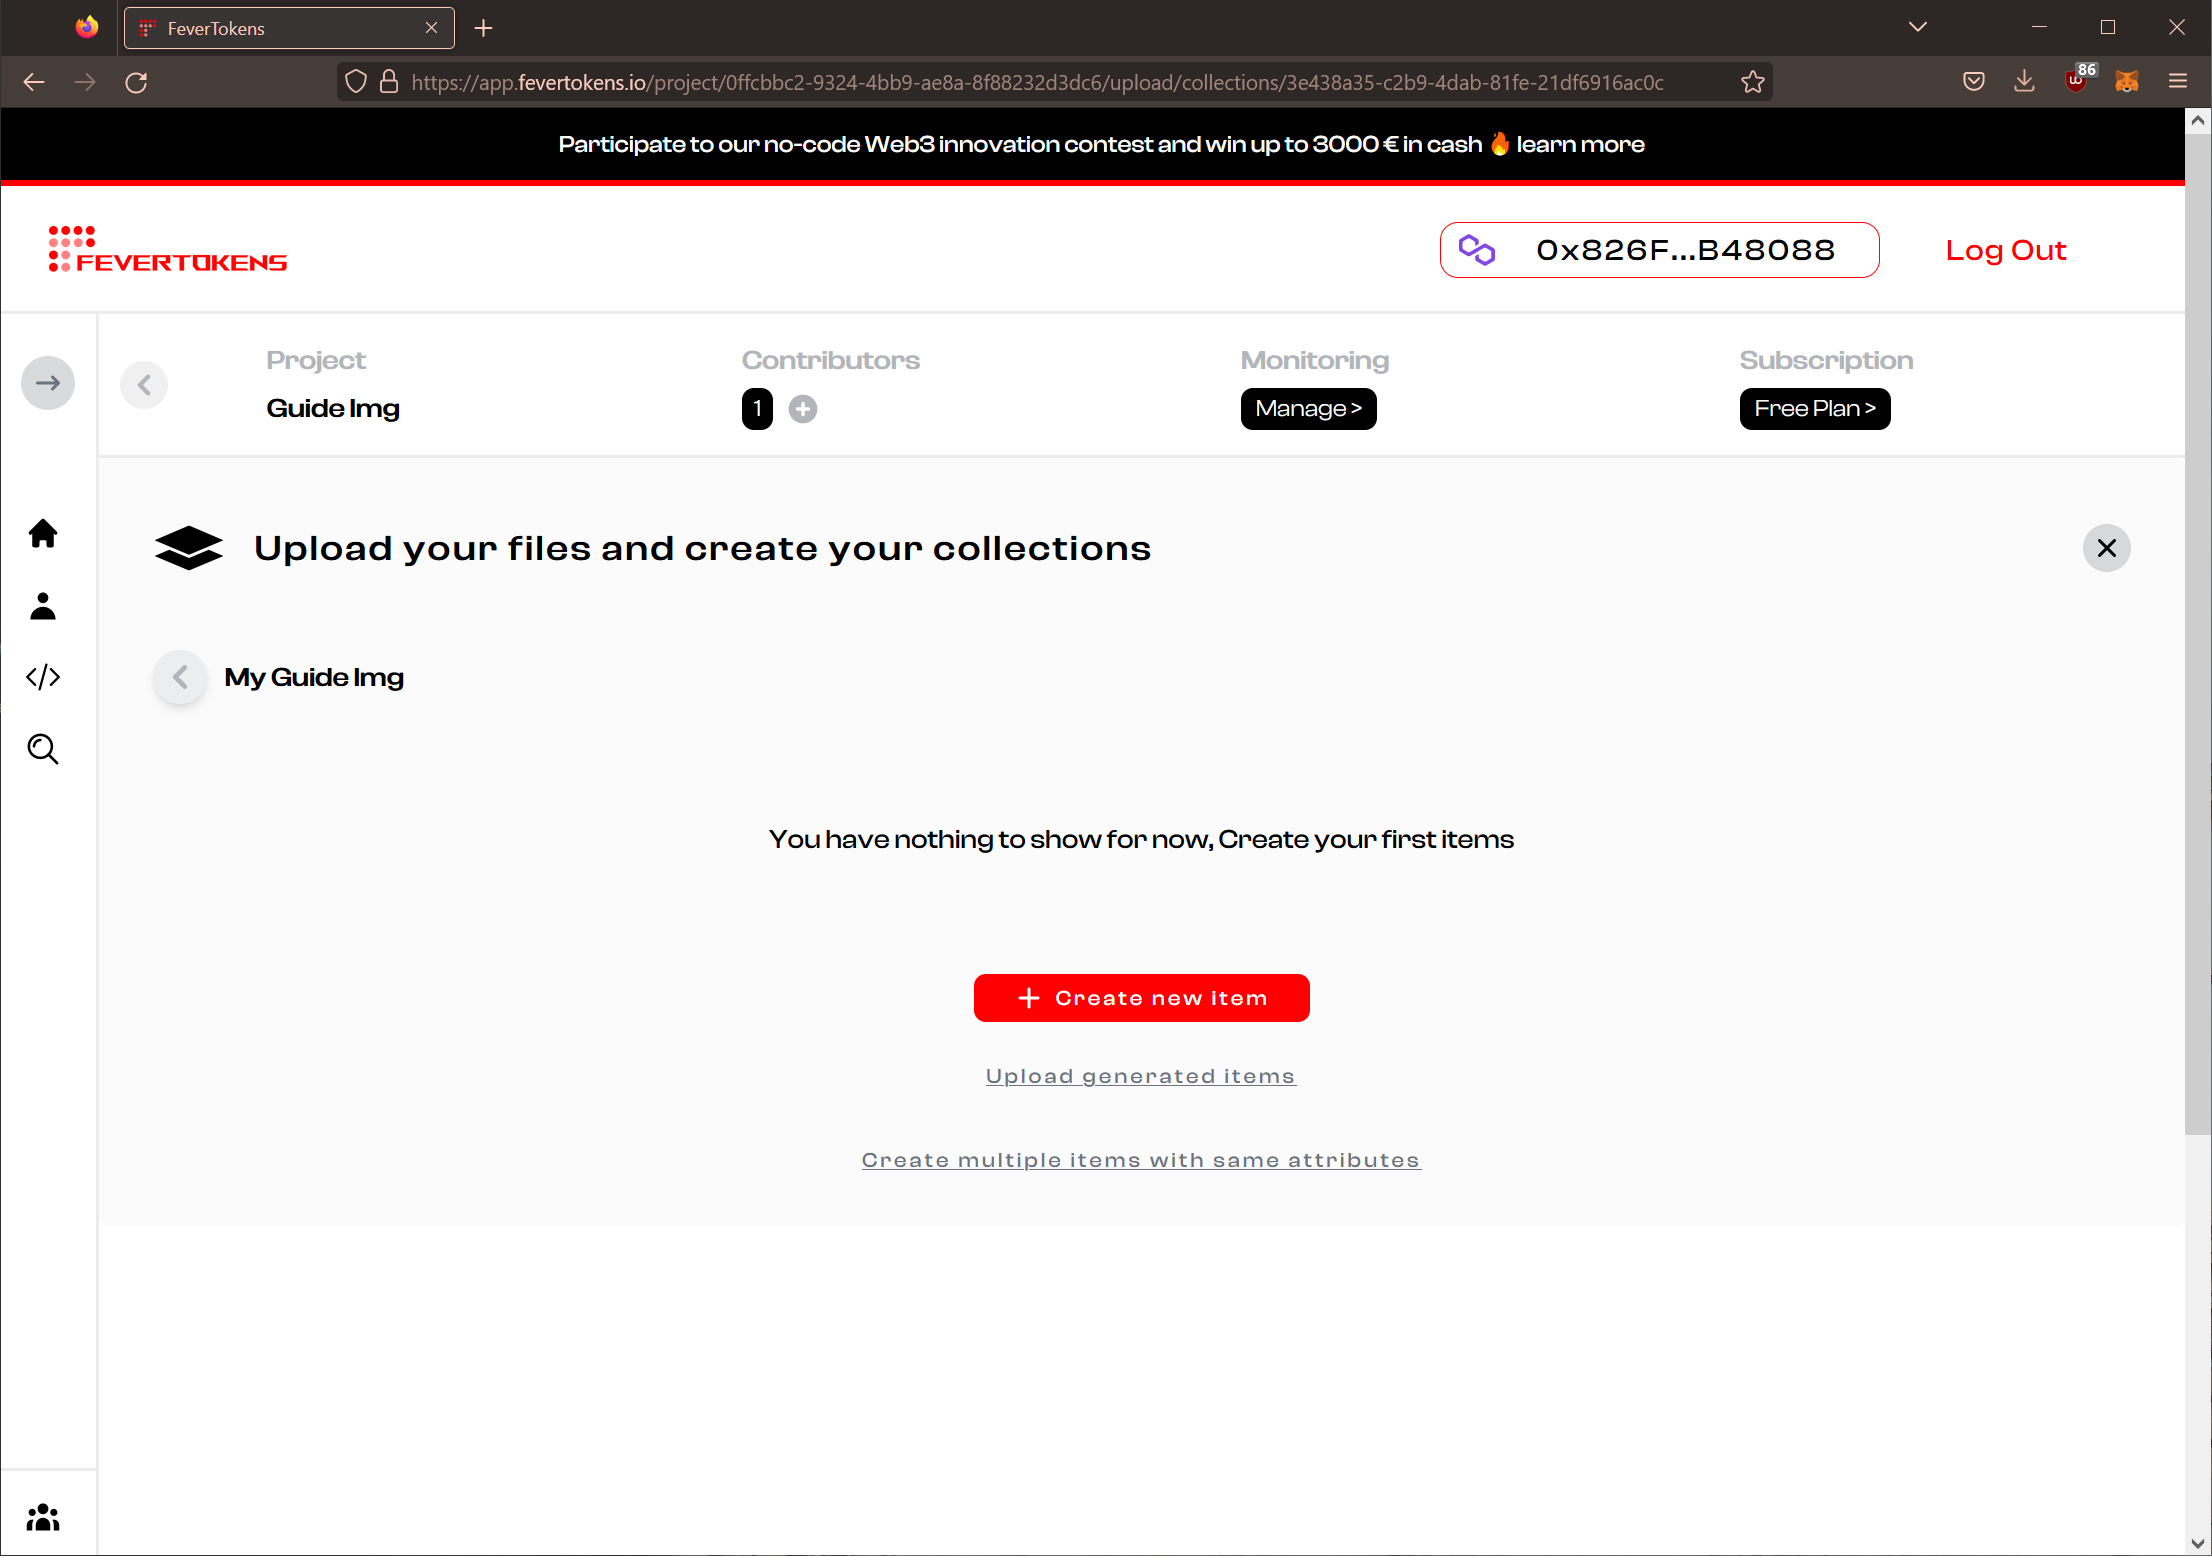
STEP 3. Create a new item in a collection
- In the collection, click Create new item to create a new item in the collection.
STEP 3o. Optionally, toggle the visibility of the collection
You can easily take the collection offline by toggling the visibility button (eye) on the collection dashboard.
Note: Once deployed, NFTs cannot be taken offline this way.
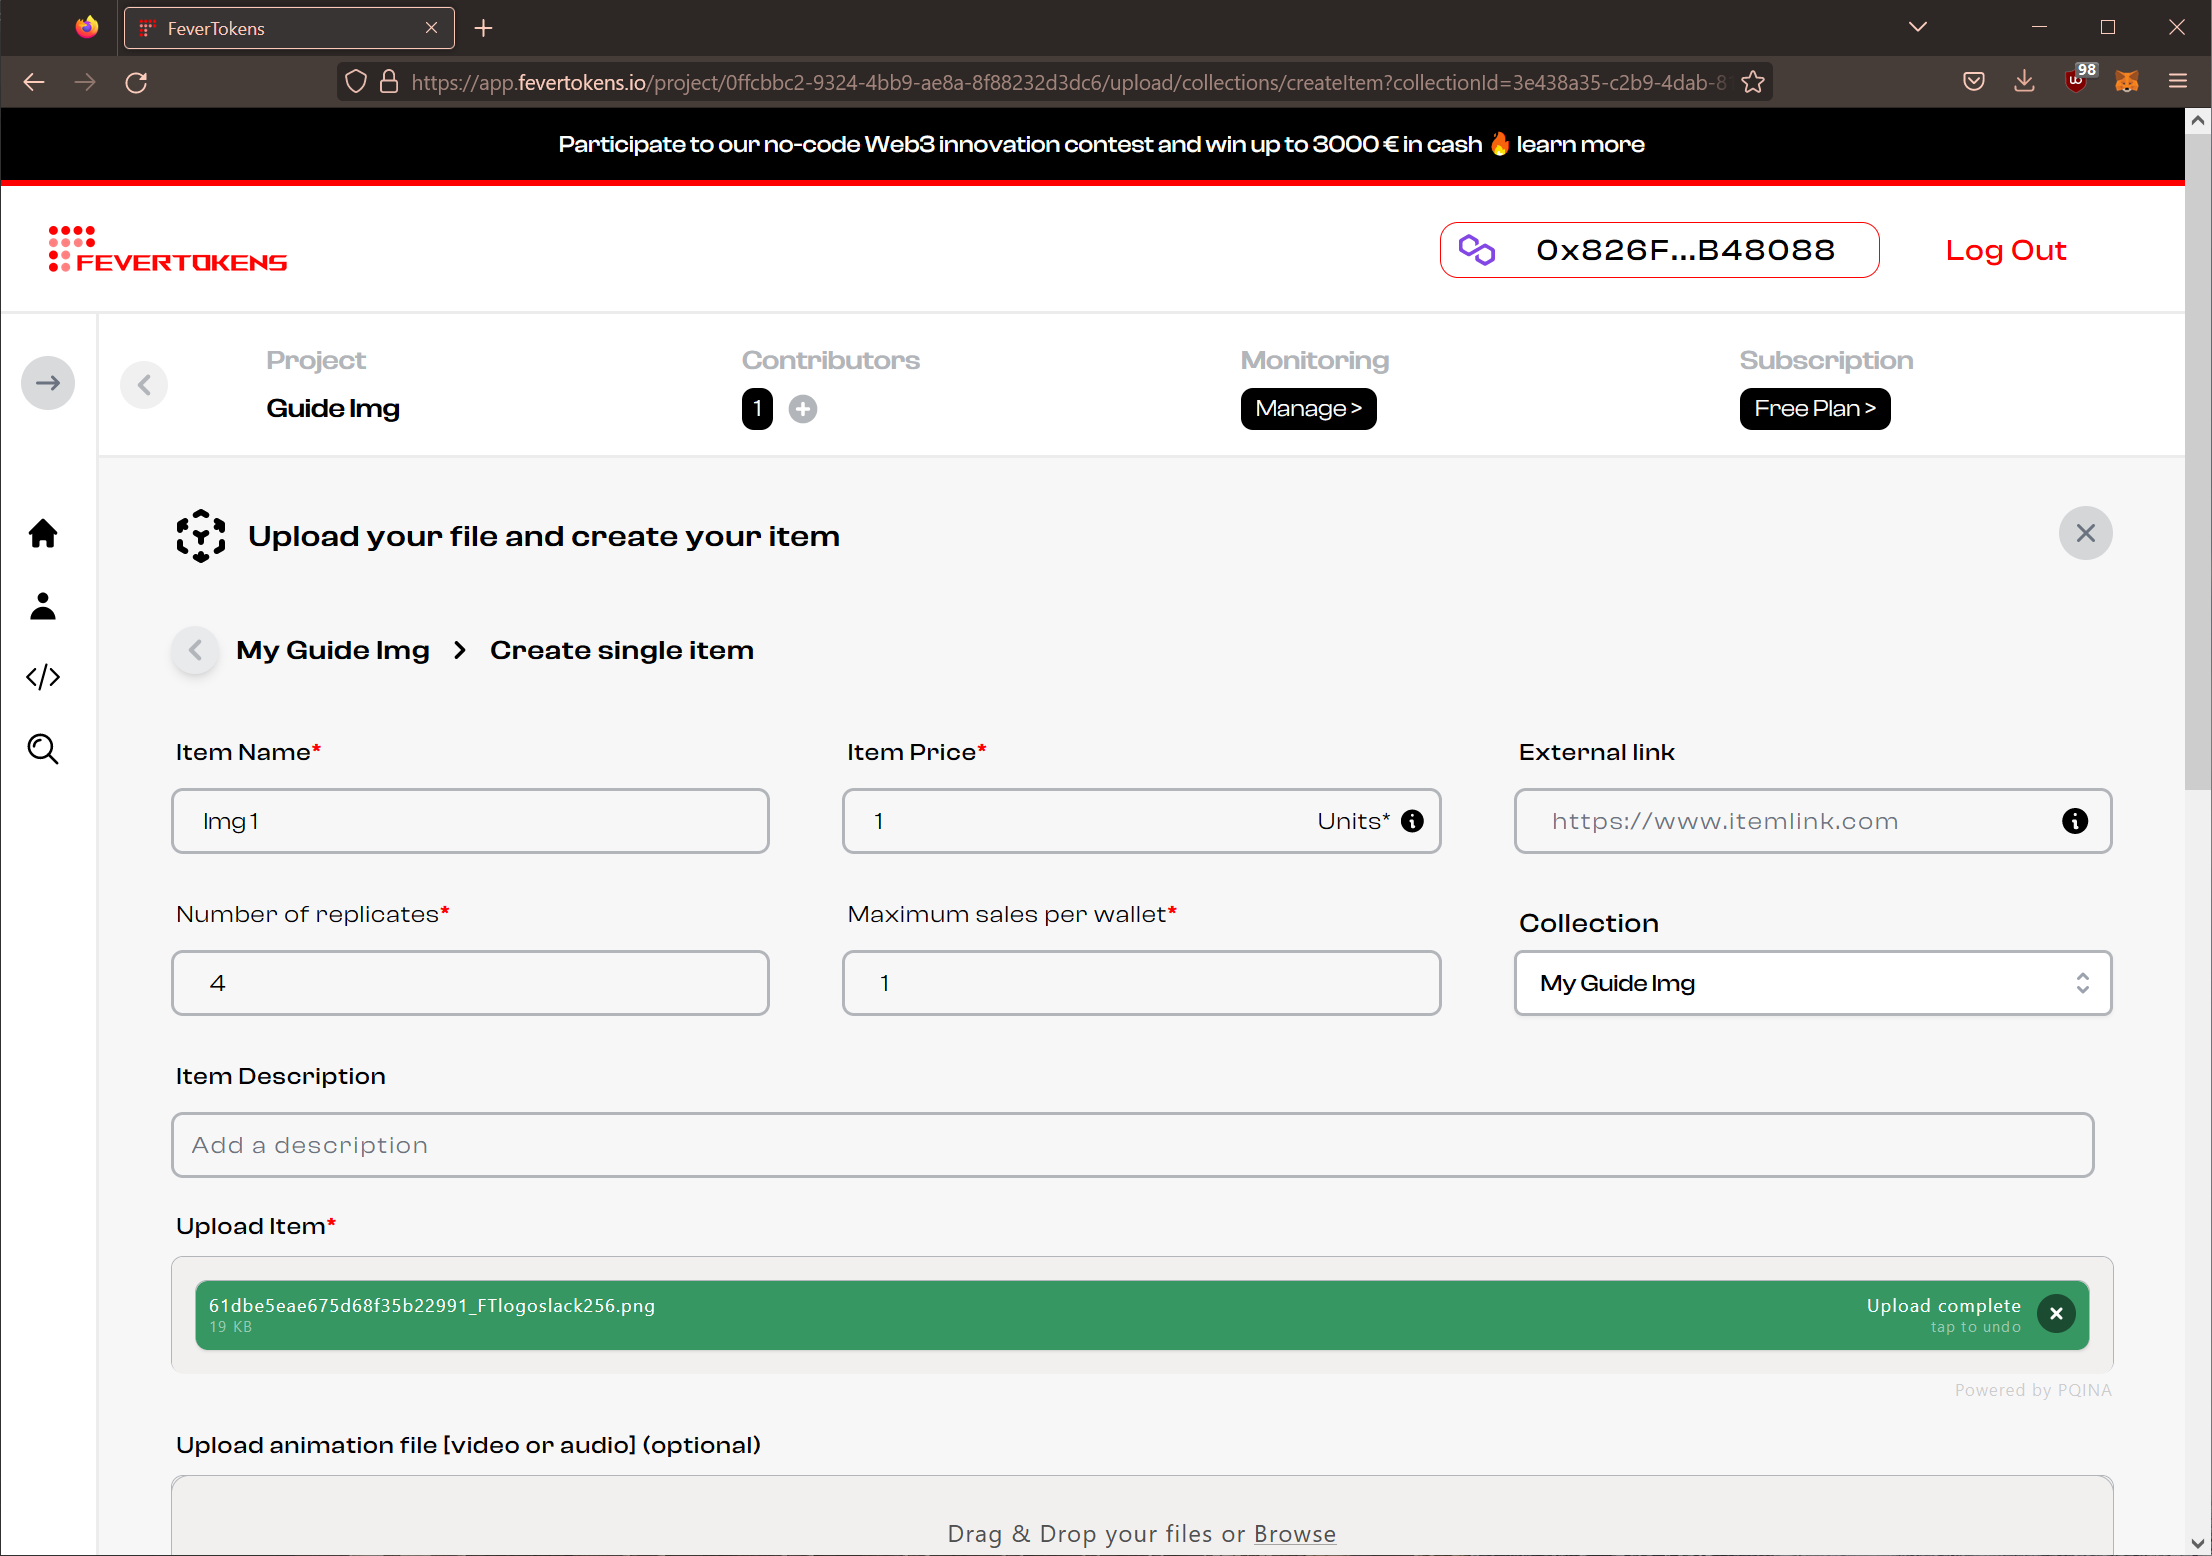
STEP 4. Upload the new item
A new dialogue box will ask for settings for the new item.
- Give the item a name.
- The default price for the item is that set for the collection. You can adjust the price here for each item if needed.
- By default, each item is unique. You can also set the number of replicas here.
- By default, each wallet can purchase just one replica. You can modify and lift this limit if desired.
- Optionally, you can choose to add an External link and Description.
- Upload the item.
- Optionally, specify a list of properties for this item. We support five types of properties:
- Texts: a pair of name and value in texts
- Stats: a name and a value in a range shown as "Stats in the smart contract"
- Levels: a name and a value in a range shown as "Levels in the smart contract"
- File: an additional document with a unique name associated with the NFT
- Link: a URI with a unique name associated with the NFT
- When you are ready, click Create item to continue.
Note: Neither item nor collection is pushed to the blockchain at this point.
In the next guide, we go over how you can customize advanced smart contracts for your NFT marketplace.