How to start using FeverTokens API?
FeverTokens' no-code Web3 framework comes not only with a user-friendly console but also a feature-rich API. The latter allows developers to integrate Web3 and NFT features into their own applications seamlessly. Best of all, access to FeverTokens API is free and unlimited.
This guide goes over requesting your own access token and following the API documentation.
STEP 1. Request API access token
- After signing in (see this guide), go to the Tokens page using the navigation panel on the left (the "</>" icon).
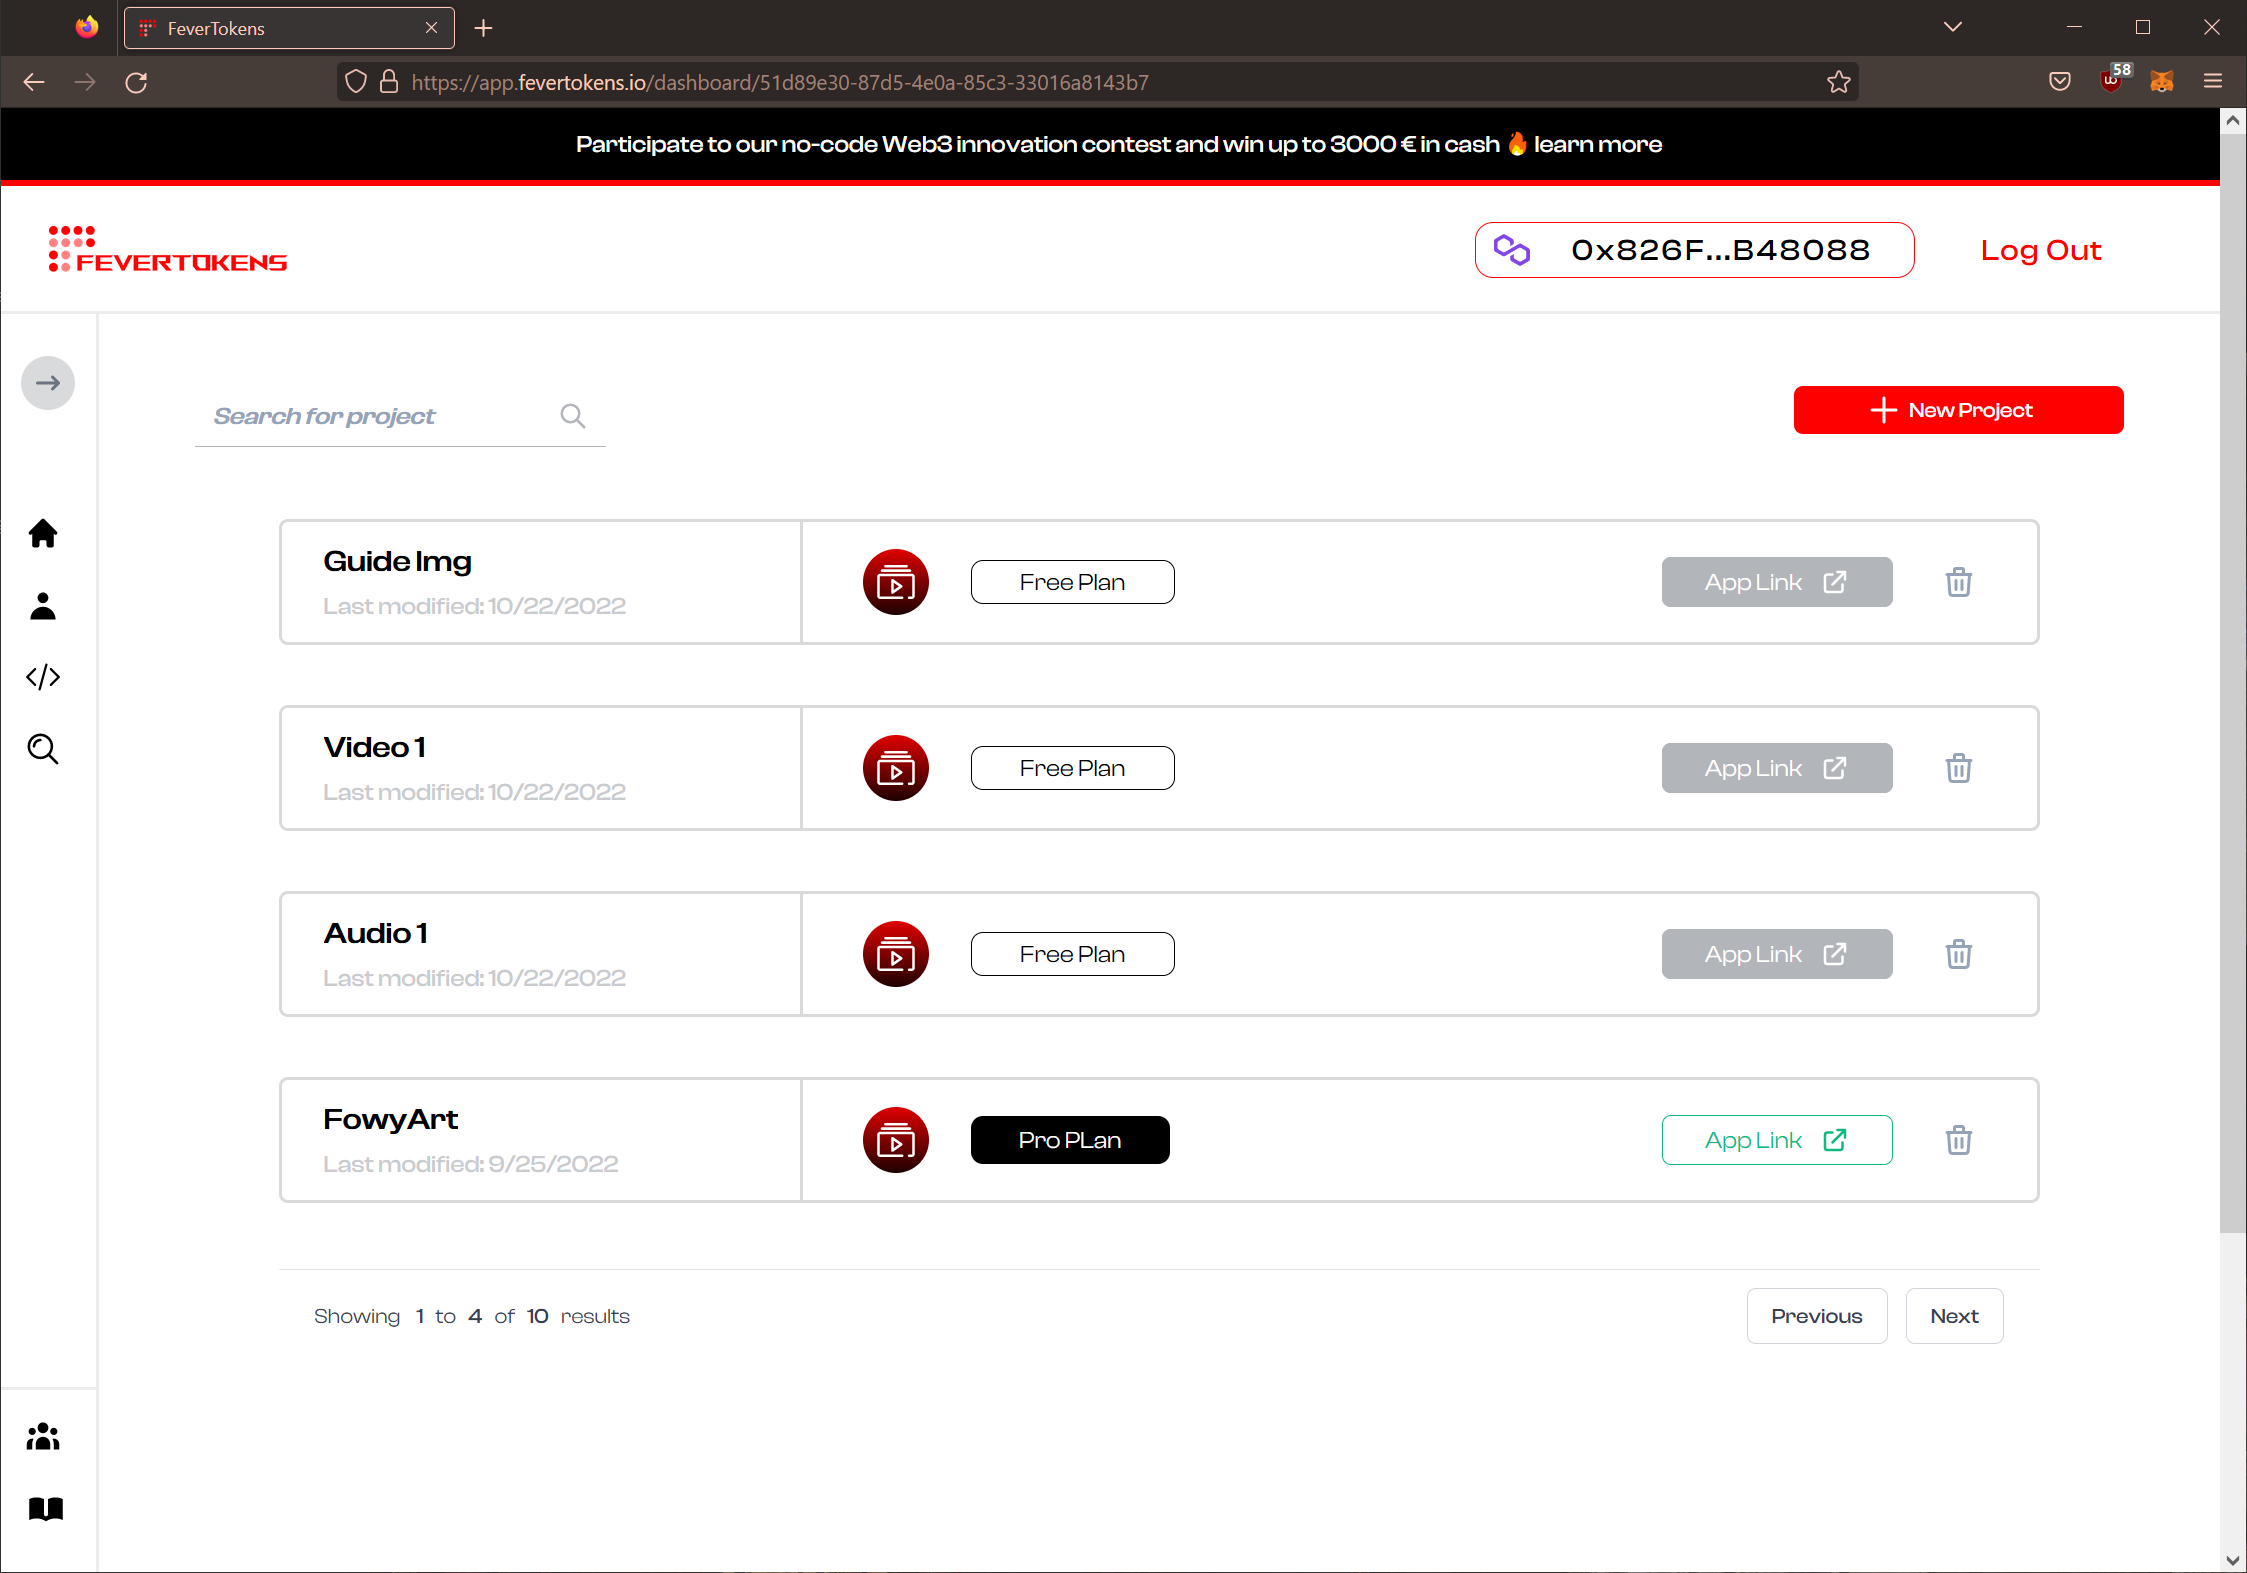
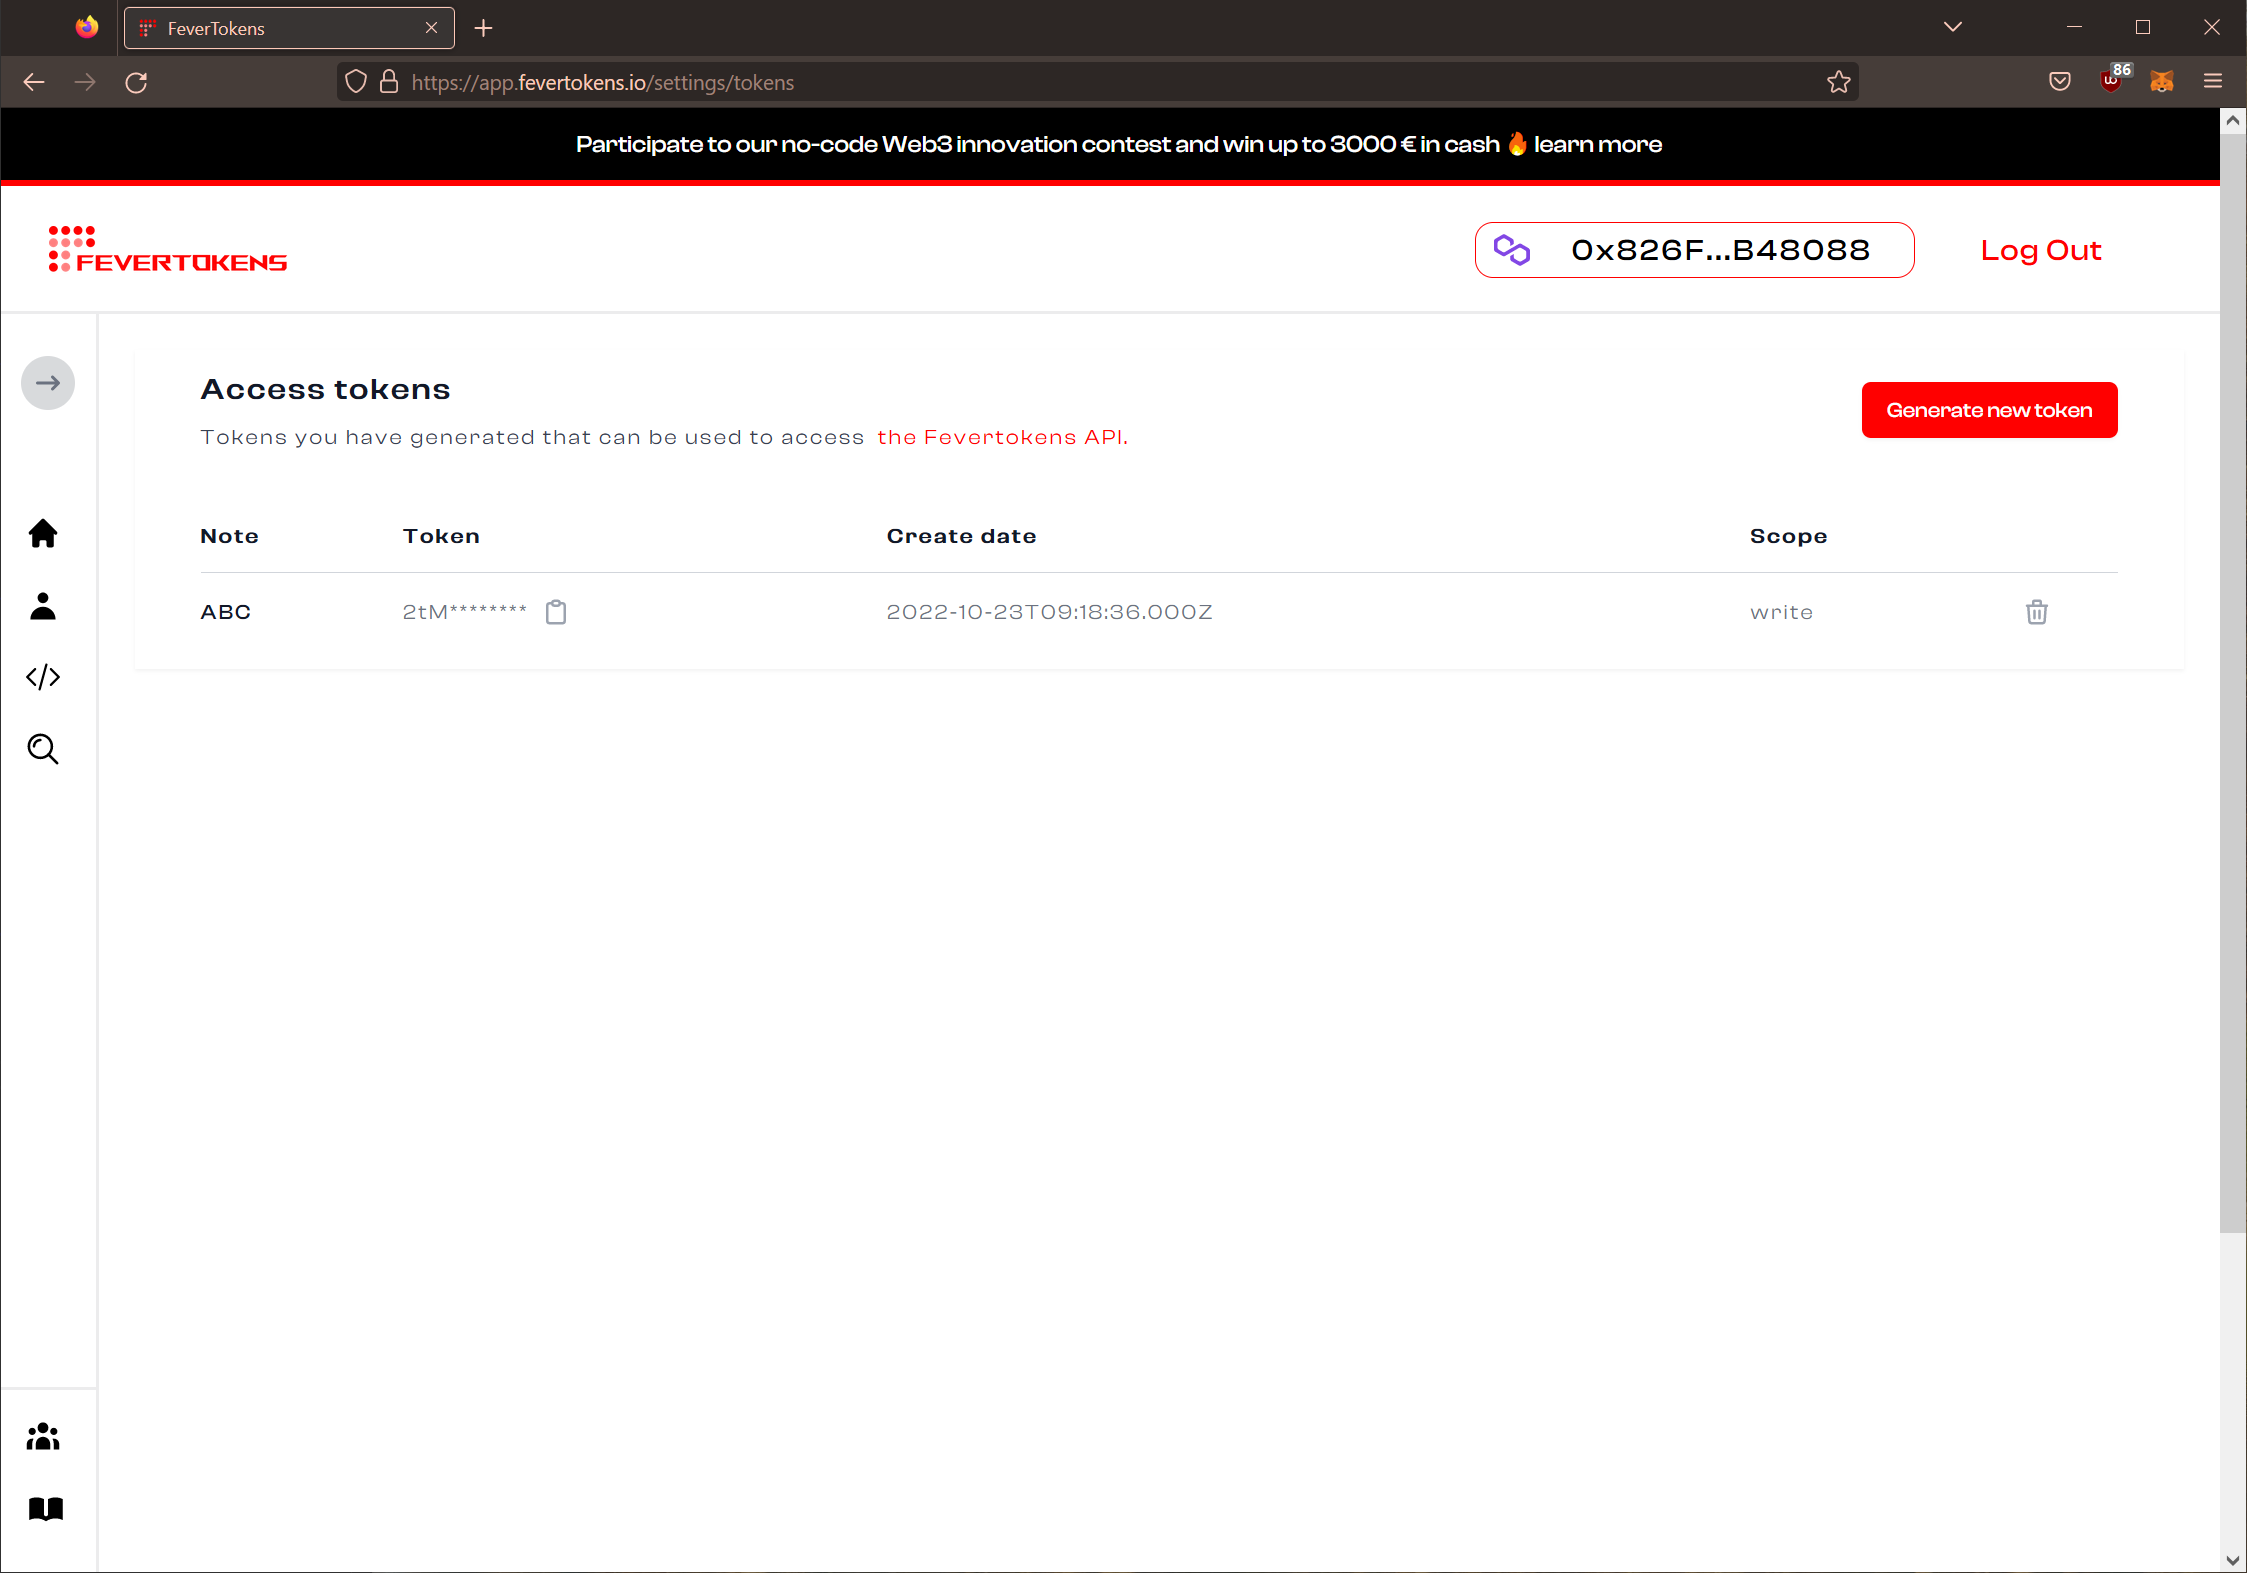
- If you have any tokens already created, they are listed here. Click Create a new access token.

- Choose a name for this token for reference and select the level of access for this token. Three levels are supported:
- Write privilege grants full control of your account to the access tkoen
- Read privilege grants only read, but not write, rights
- Public privilege has limited scope and is only compatible with limited functions; it is used for querying public data only
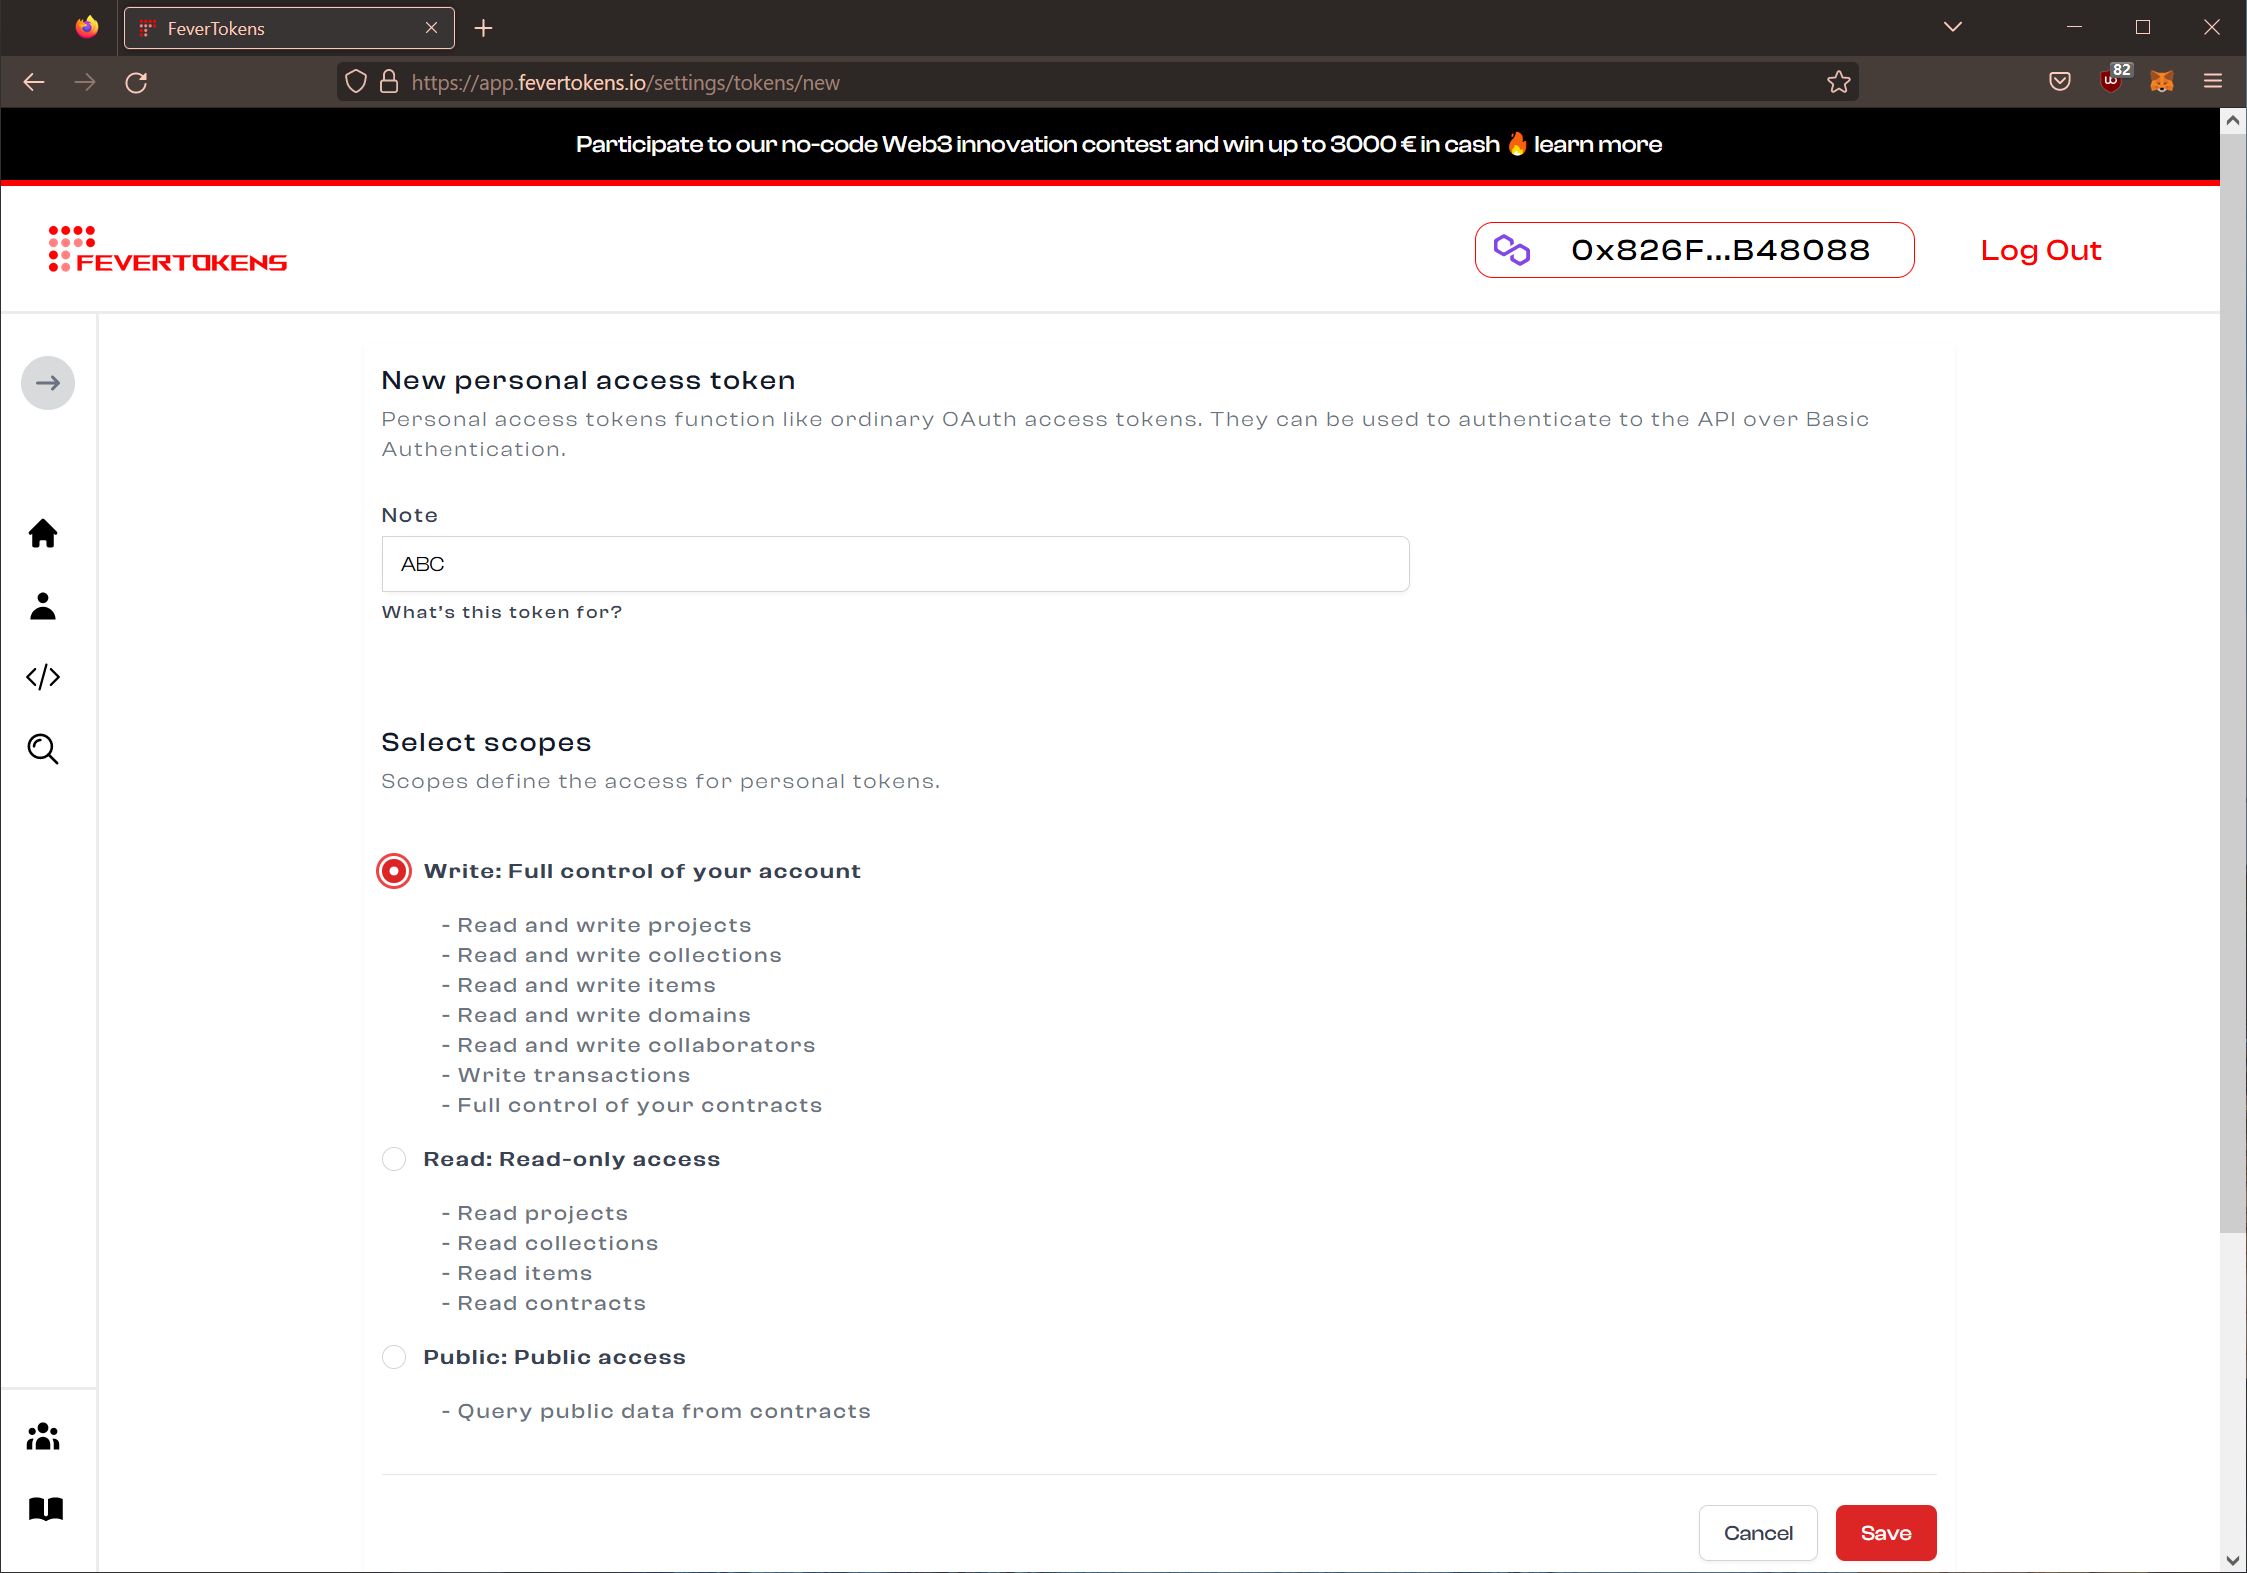
- Click Save to continue.
- The new token will be displayed on the Tokens page.
STEP 2. Discover FeverTokens API documentation
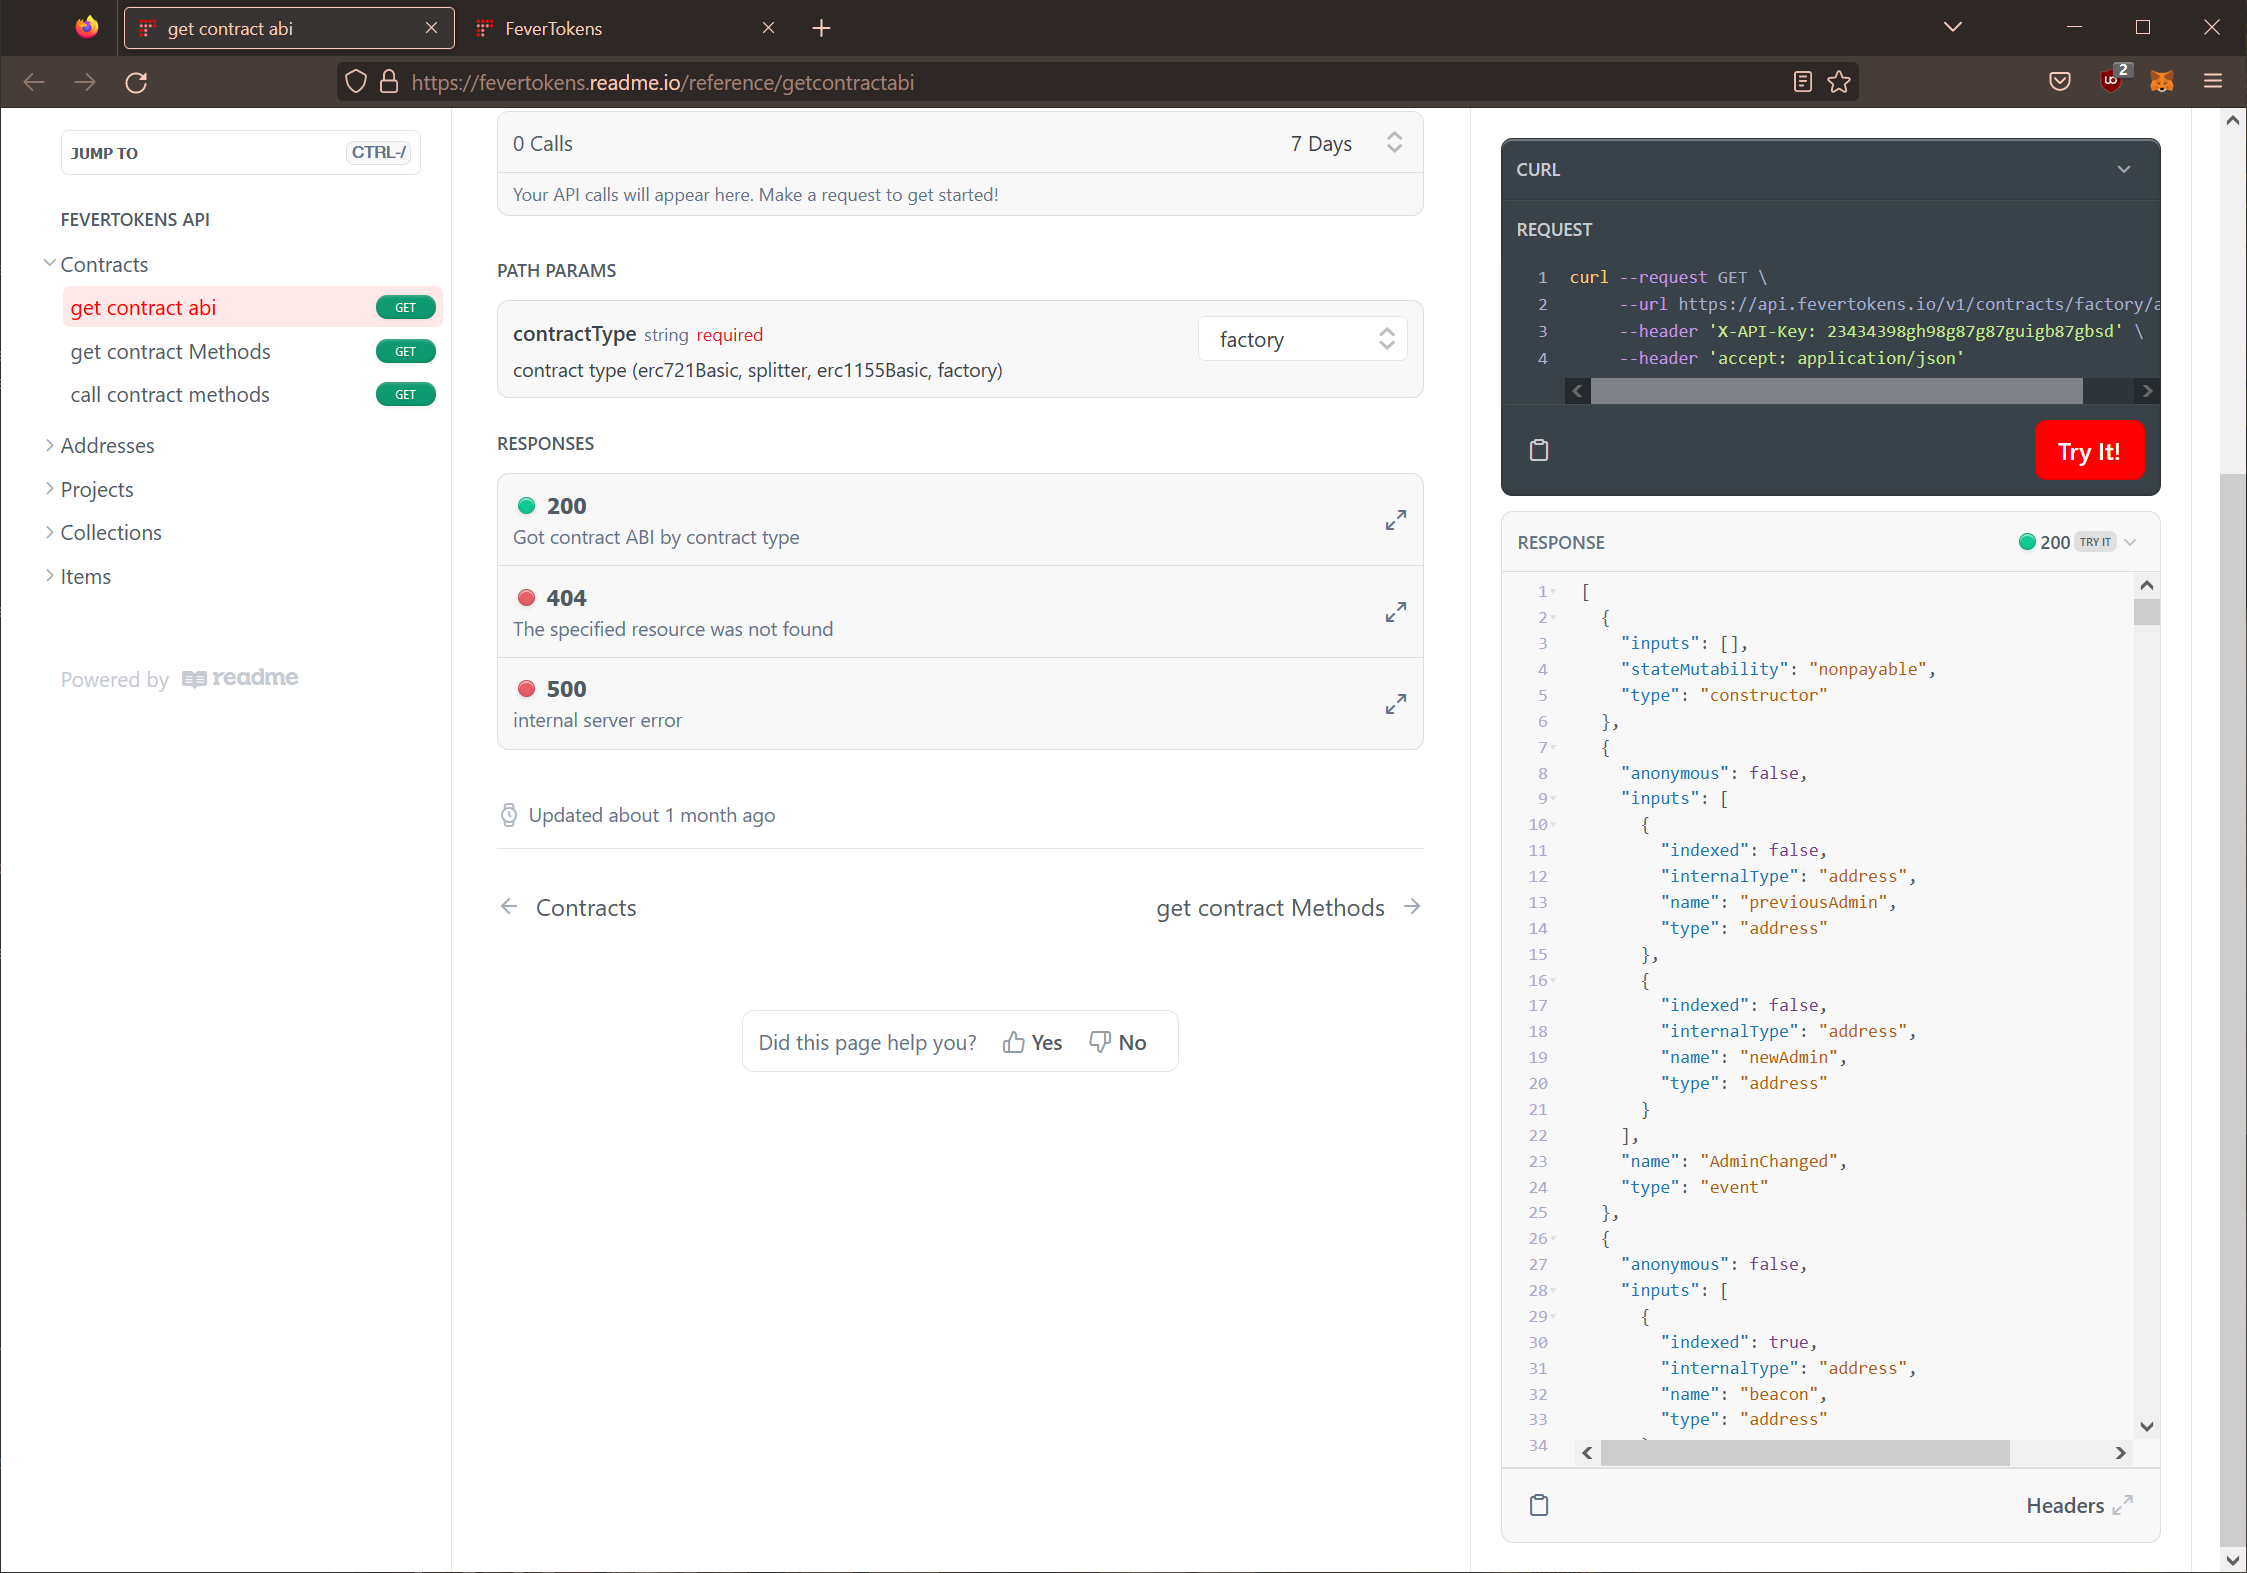
- Go to FeverTokens API documentation page.
- A range of APIs can be found on the left panel. Their details are displayed in the center, while examples are given on the right.
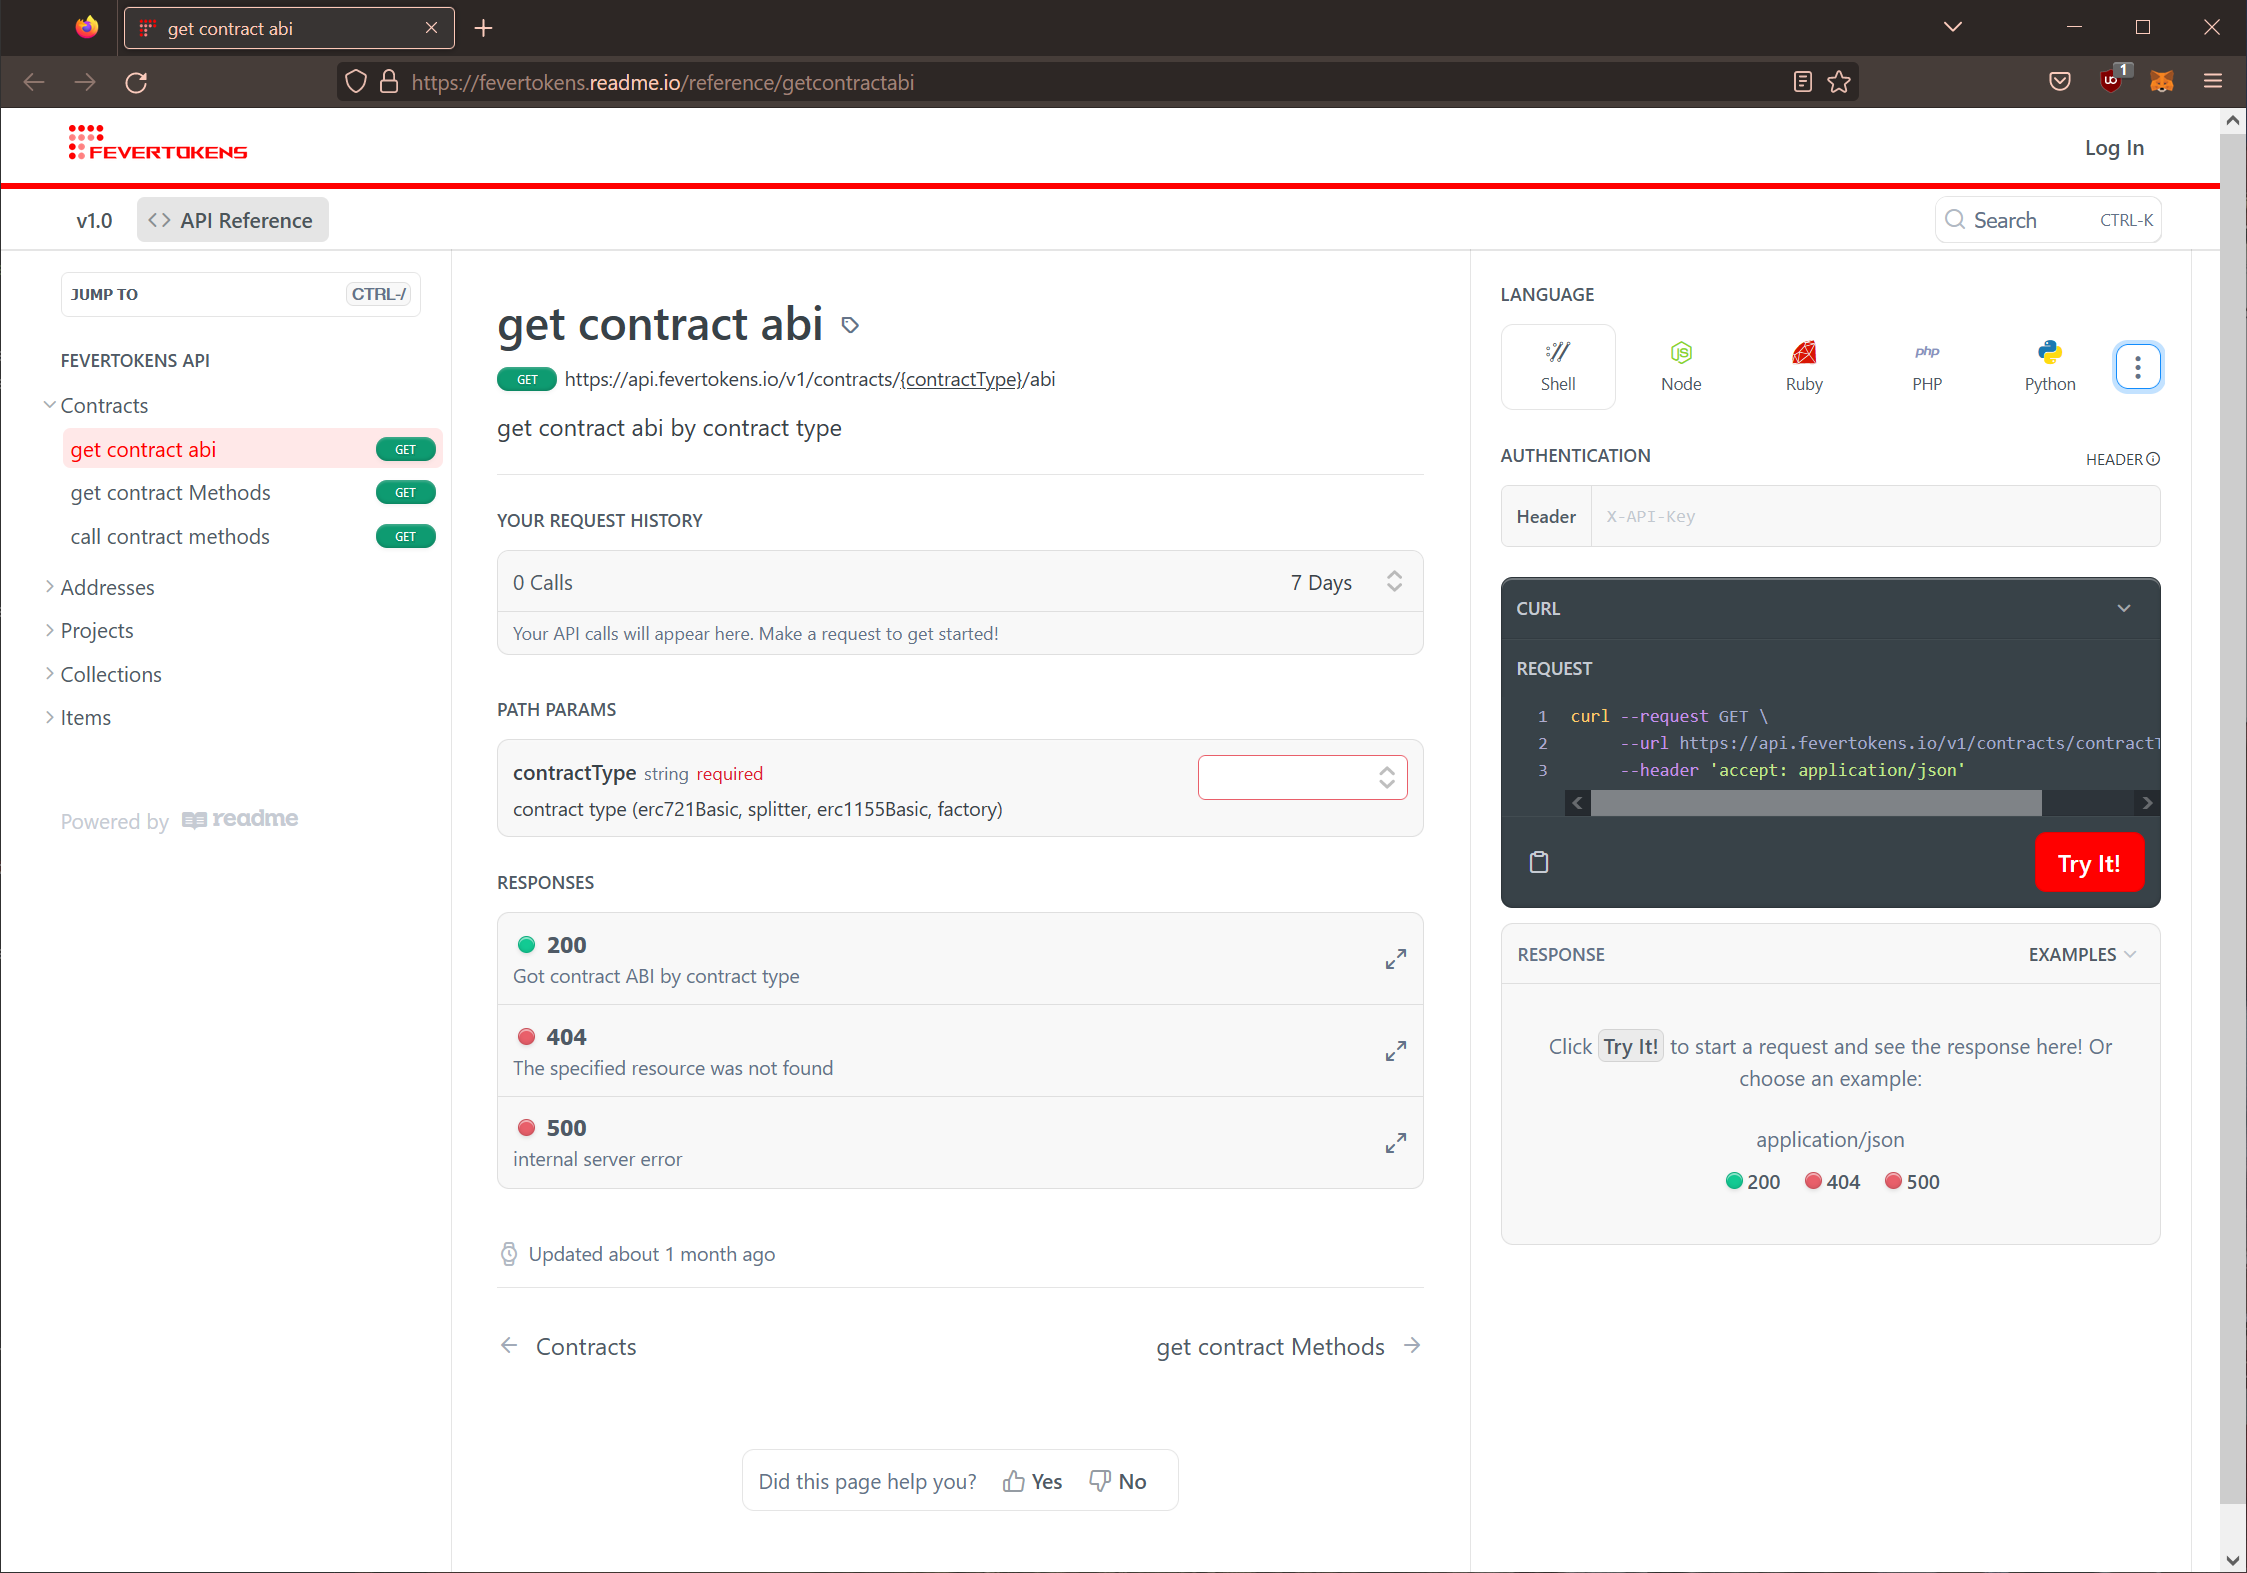
- To try the API within the documentation, enter the access token that you have obtained in STEP 1 into the AUTHENTICATION field in the HEADER section on the right.
- Enter the required values on the page and click Try it! to start.
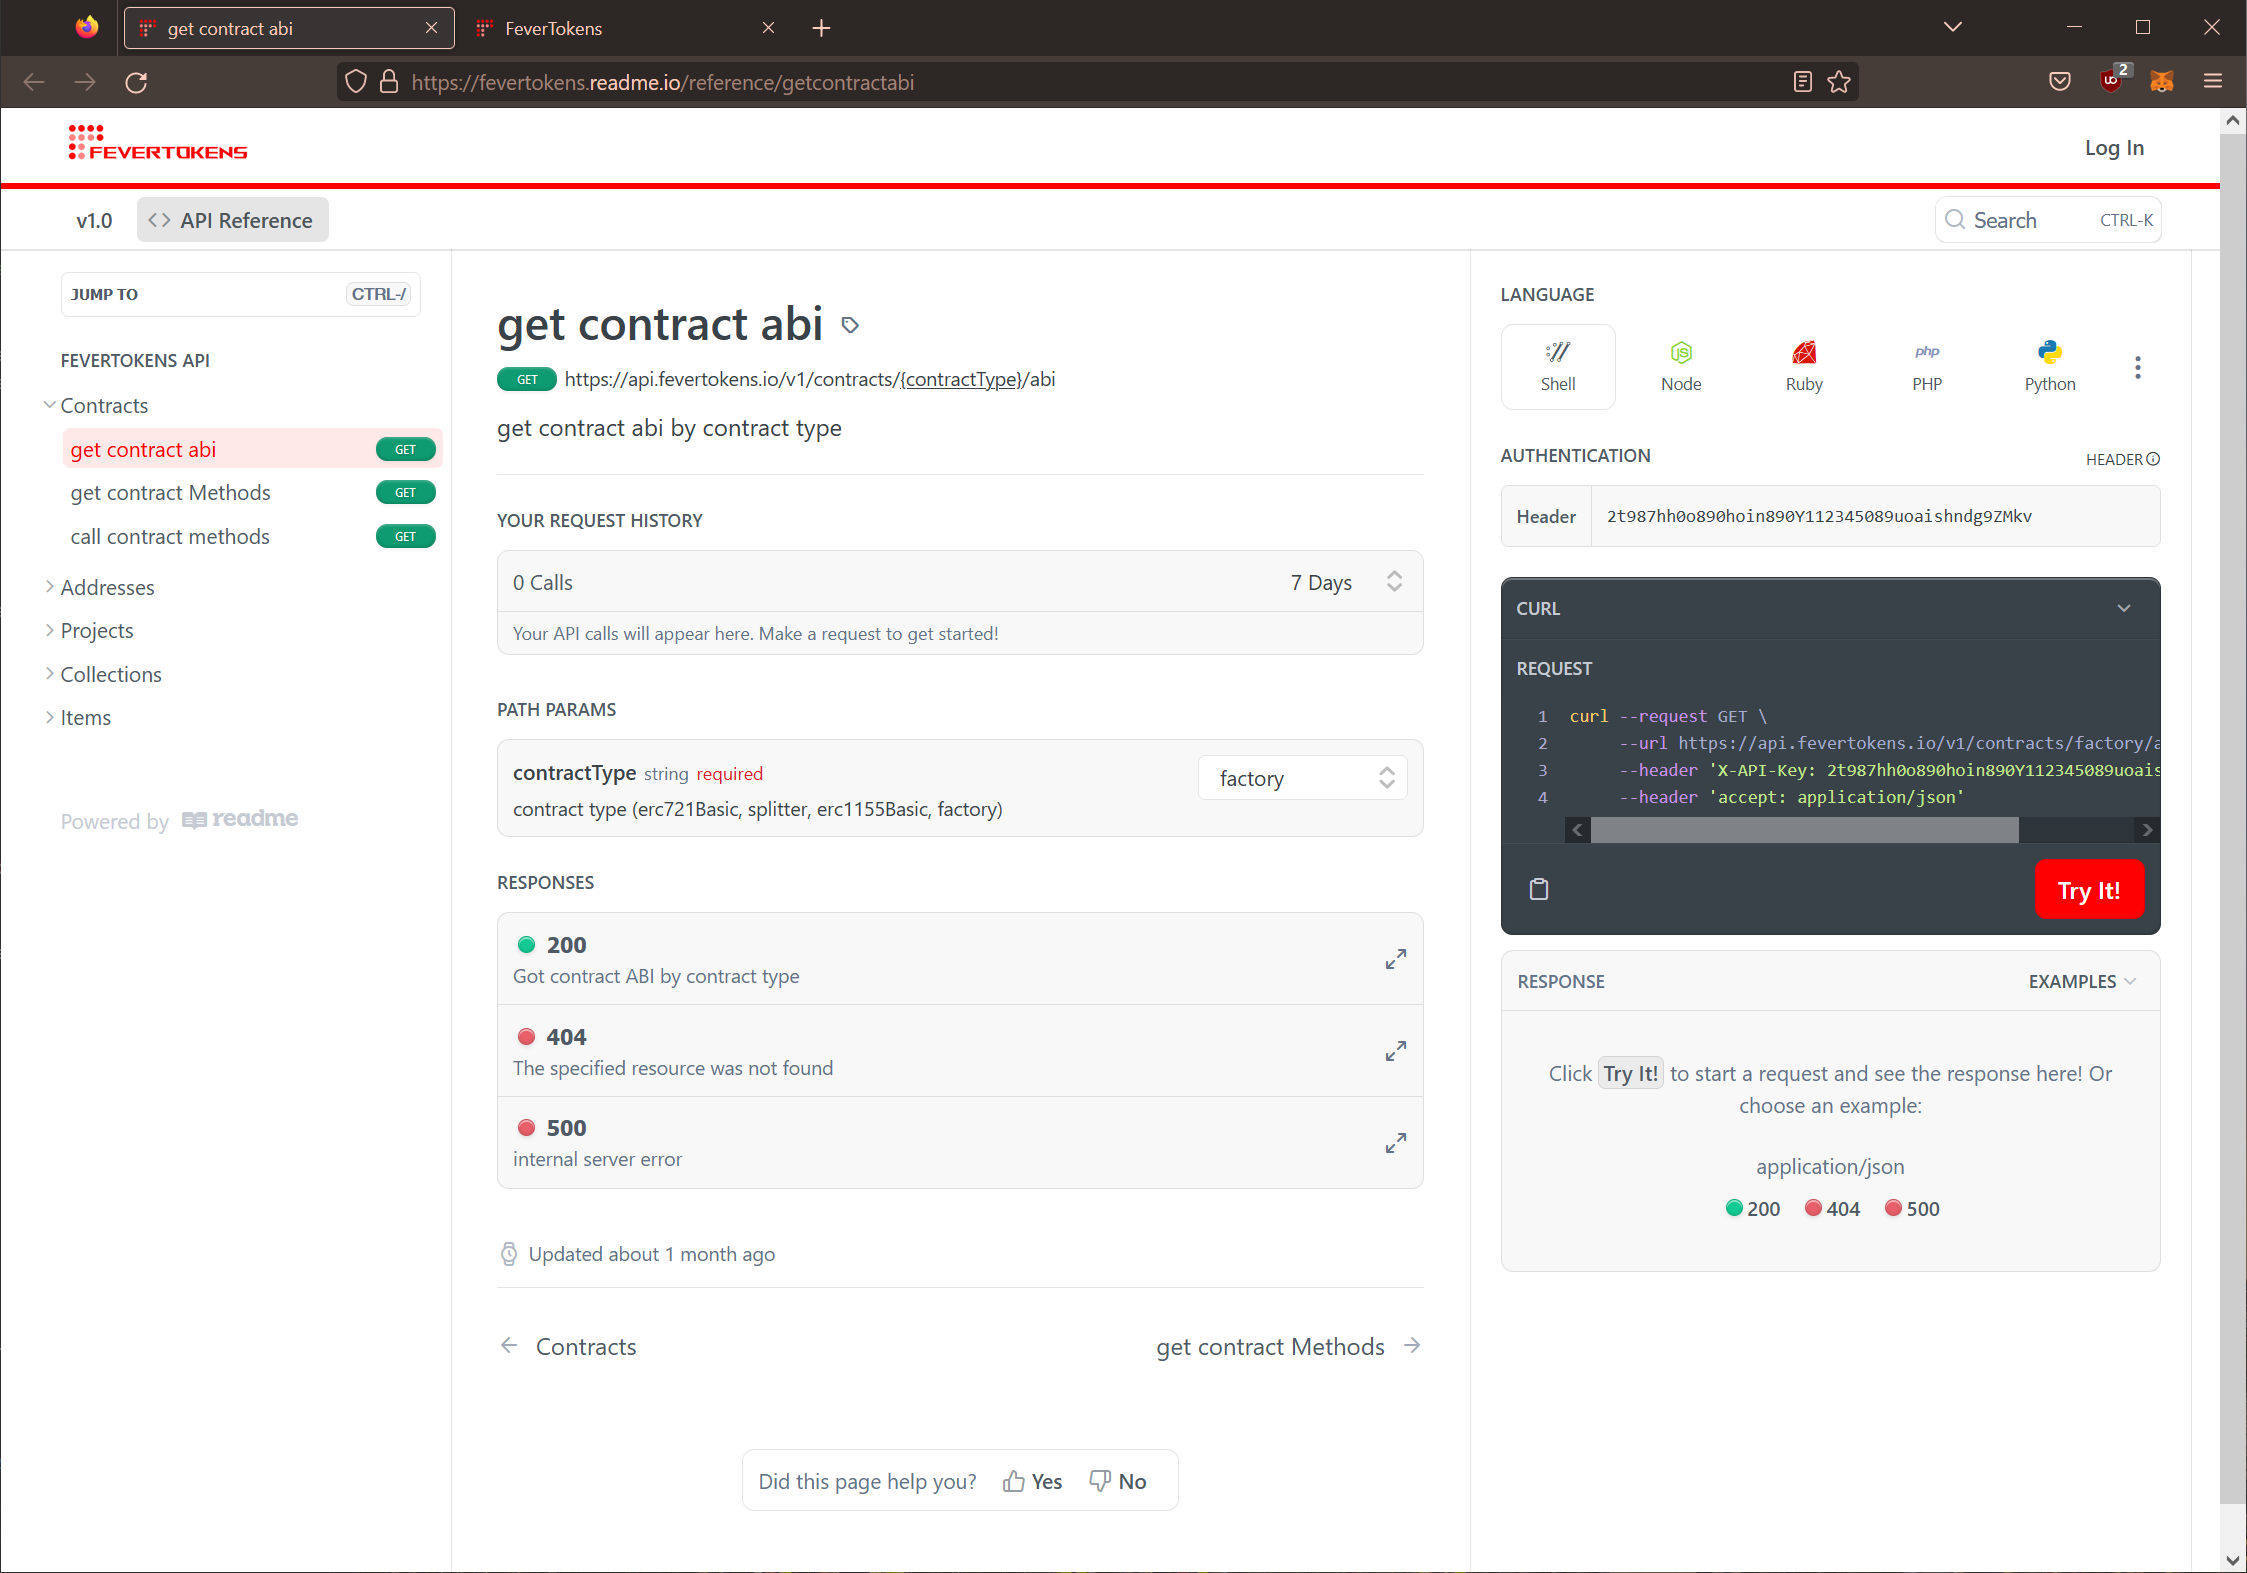
- The API response will be give on the page.